Method 1: Using theme.liquid
- Go to your dashboard.
- Click
Deploybutton in the sidebar menu.

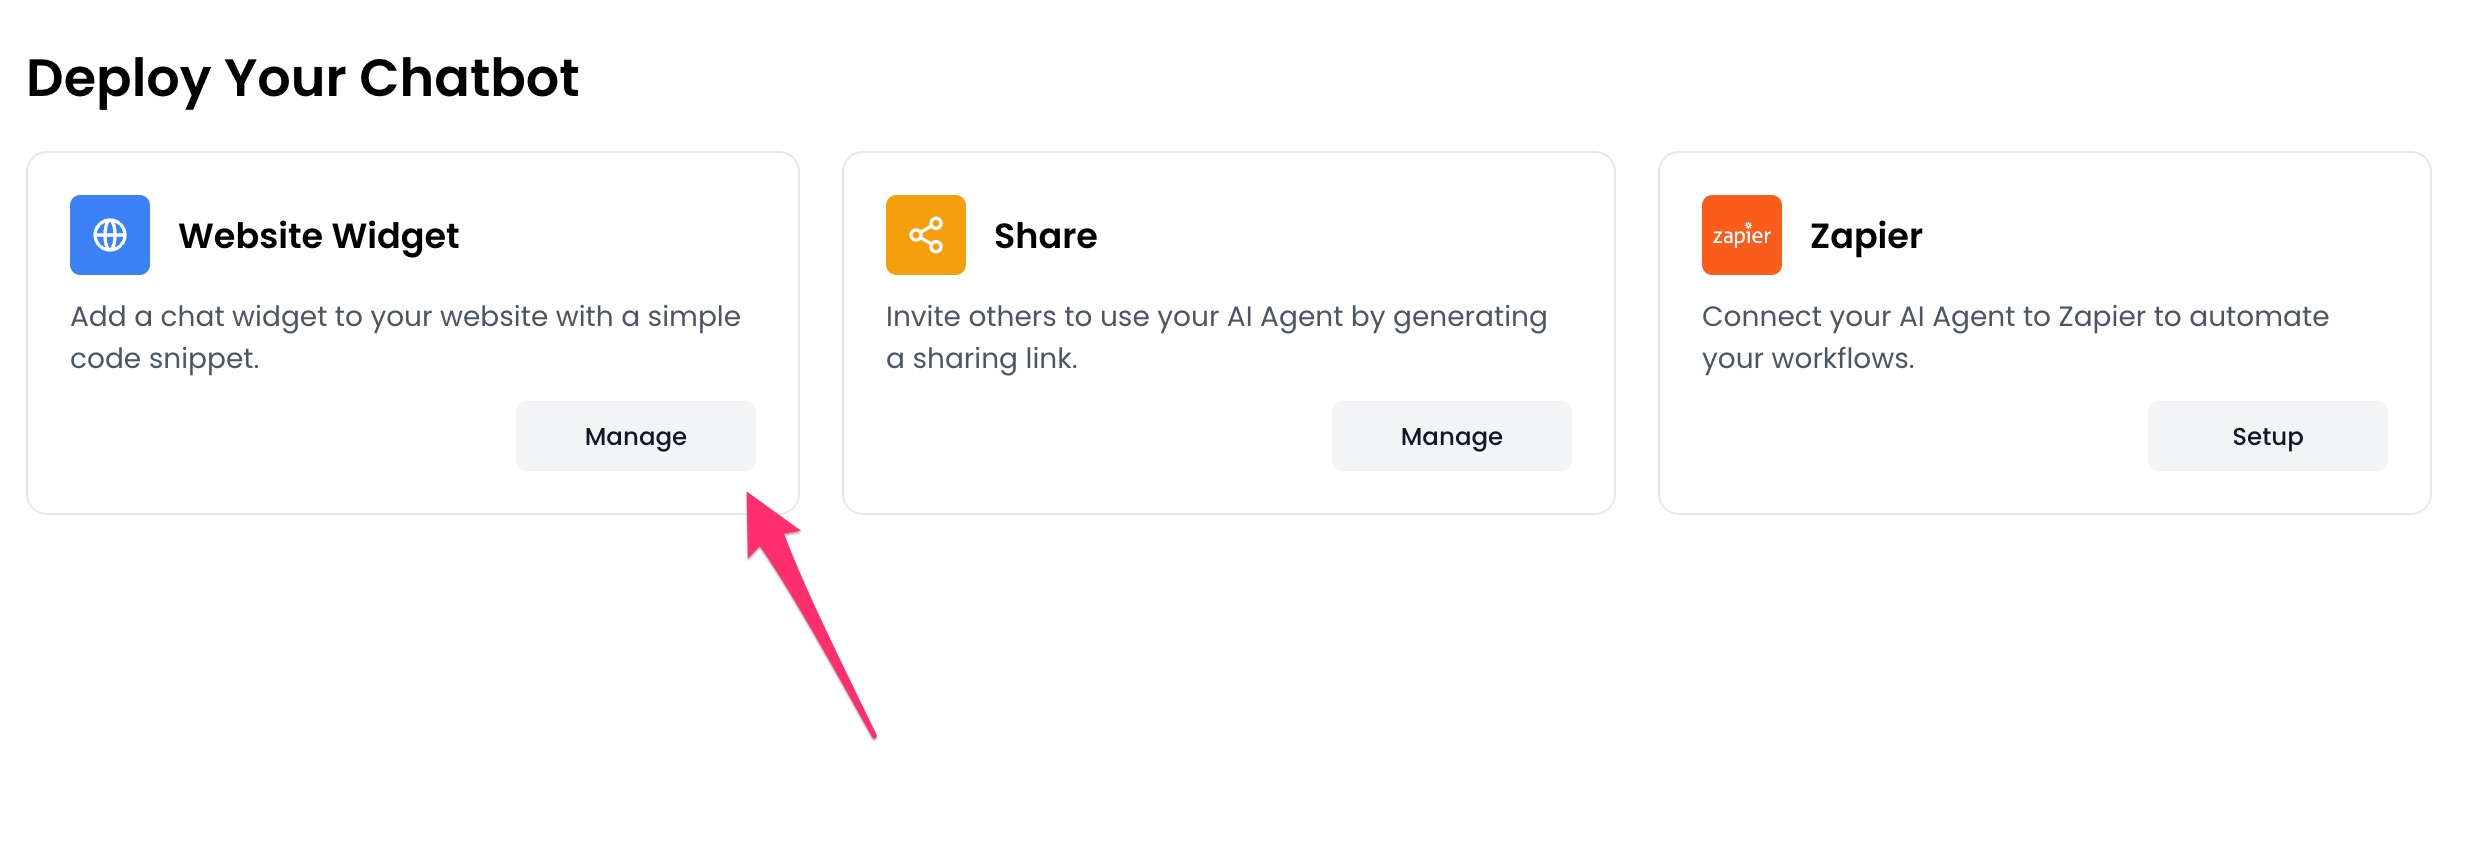
- Click the
Managebutton under theWebsite Widgetoption.
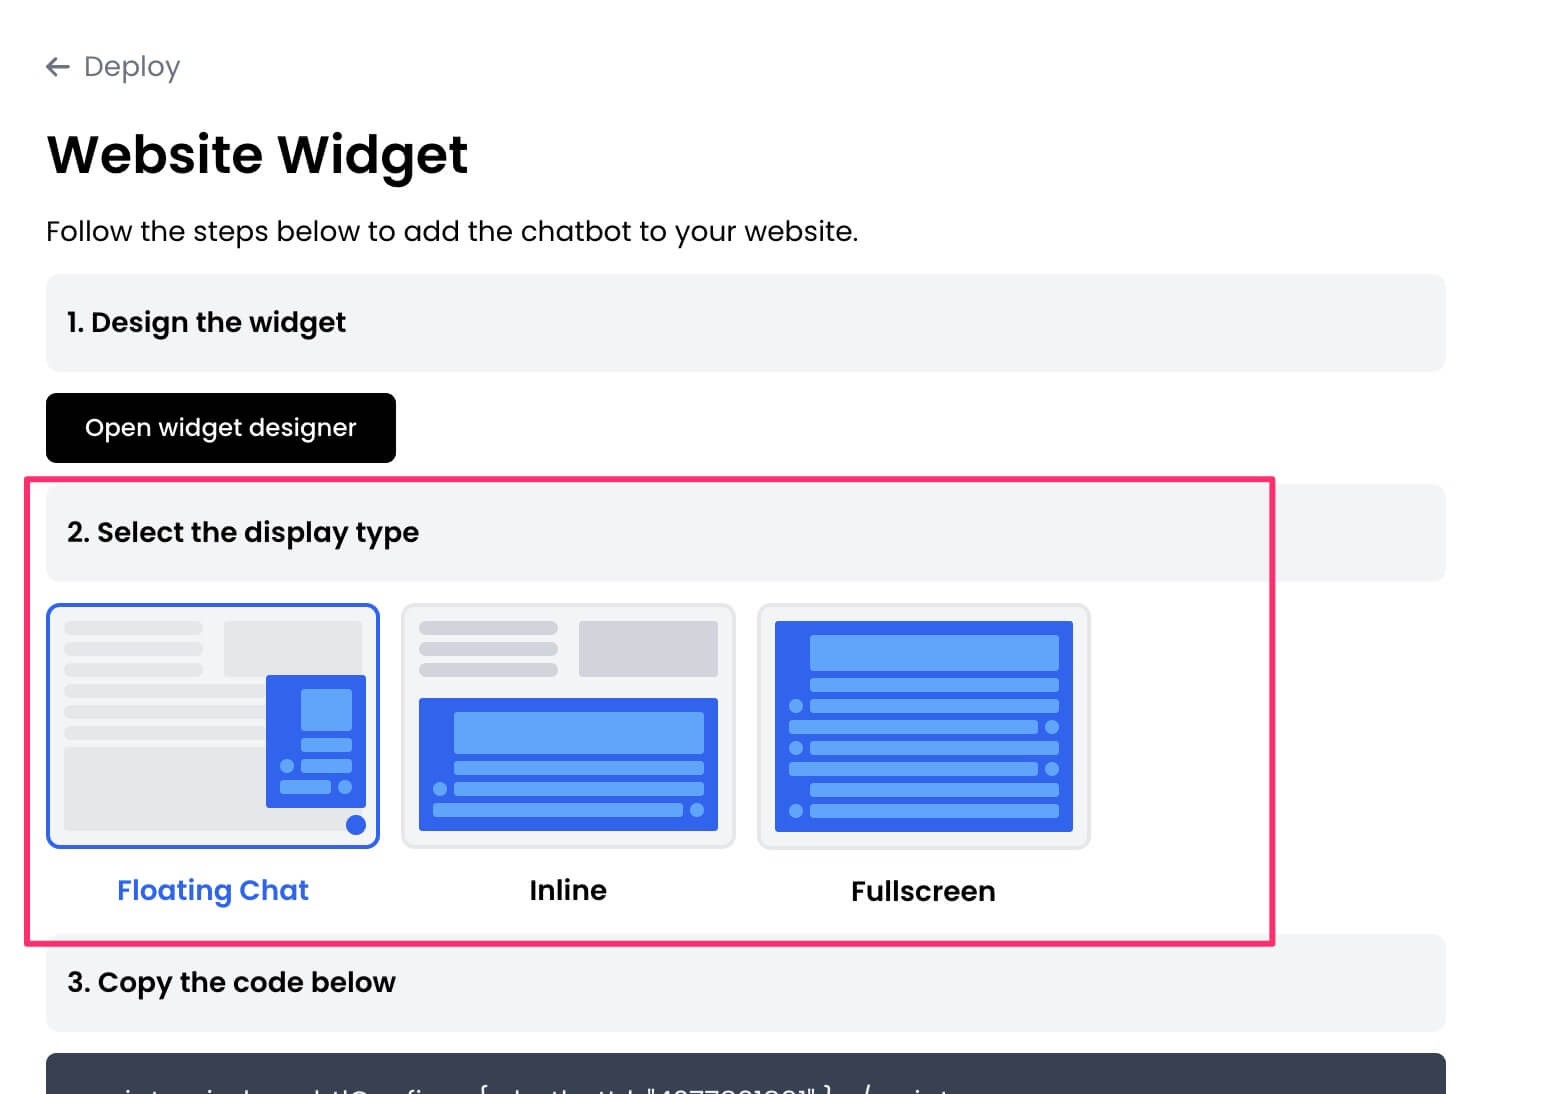
- Design the appearance of the widget by clicking the
Open widget designerbutton.

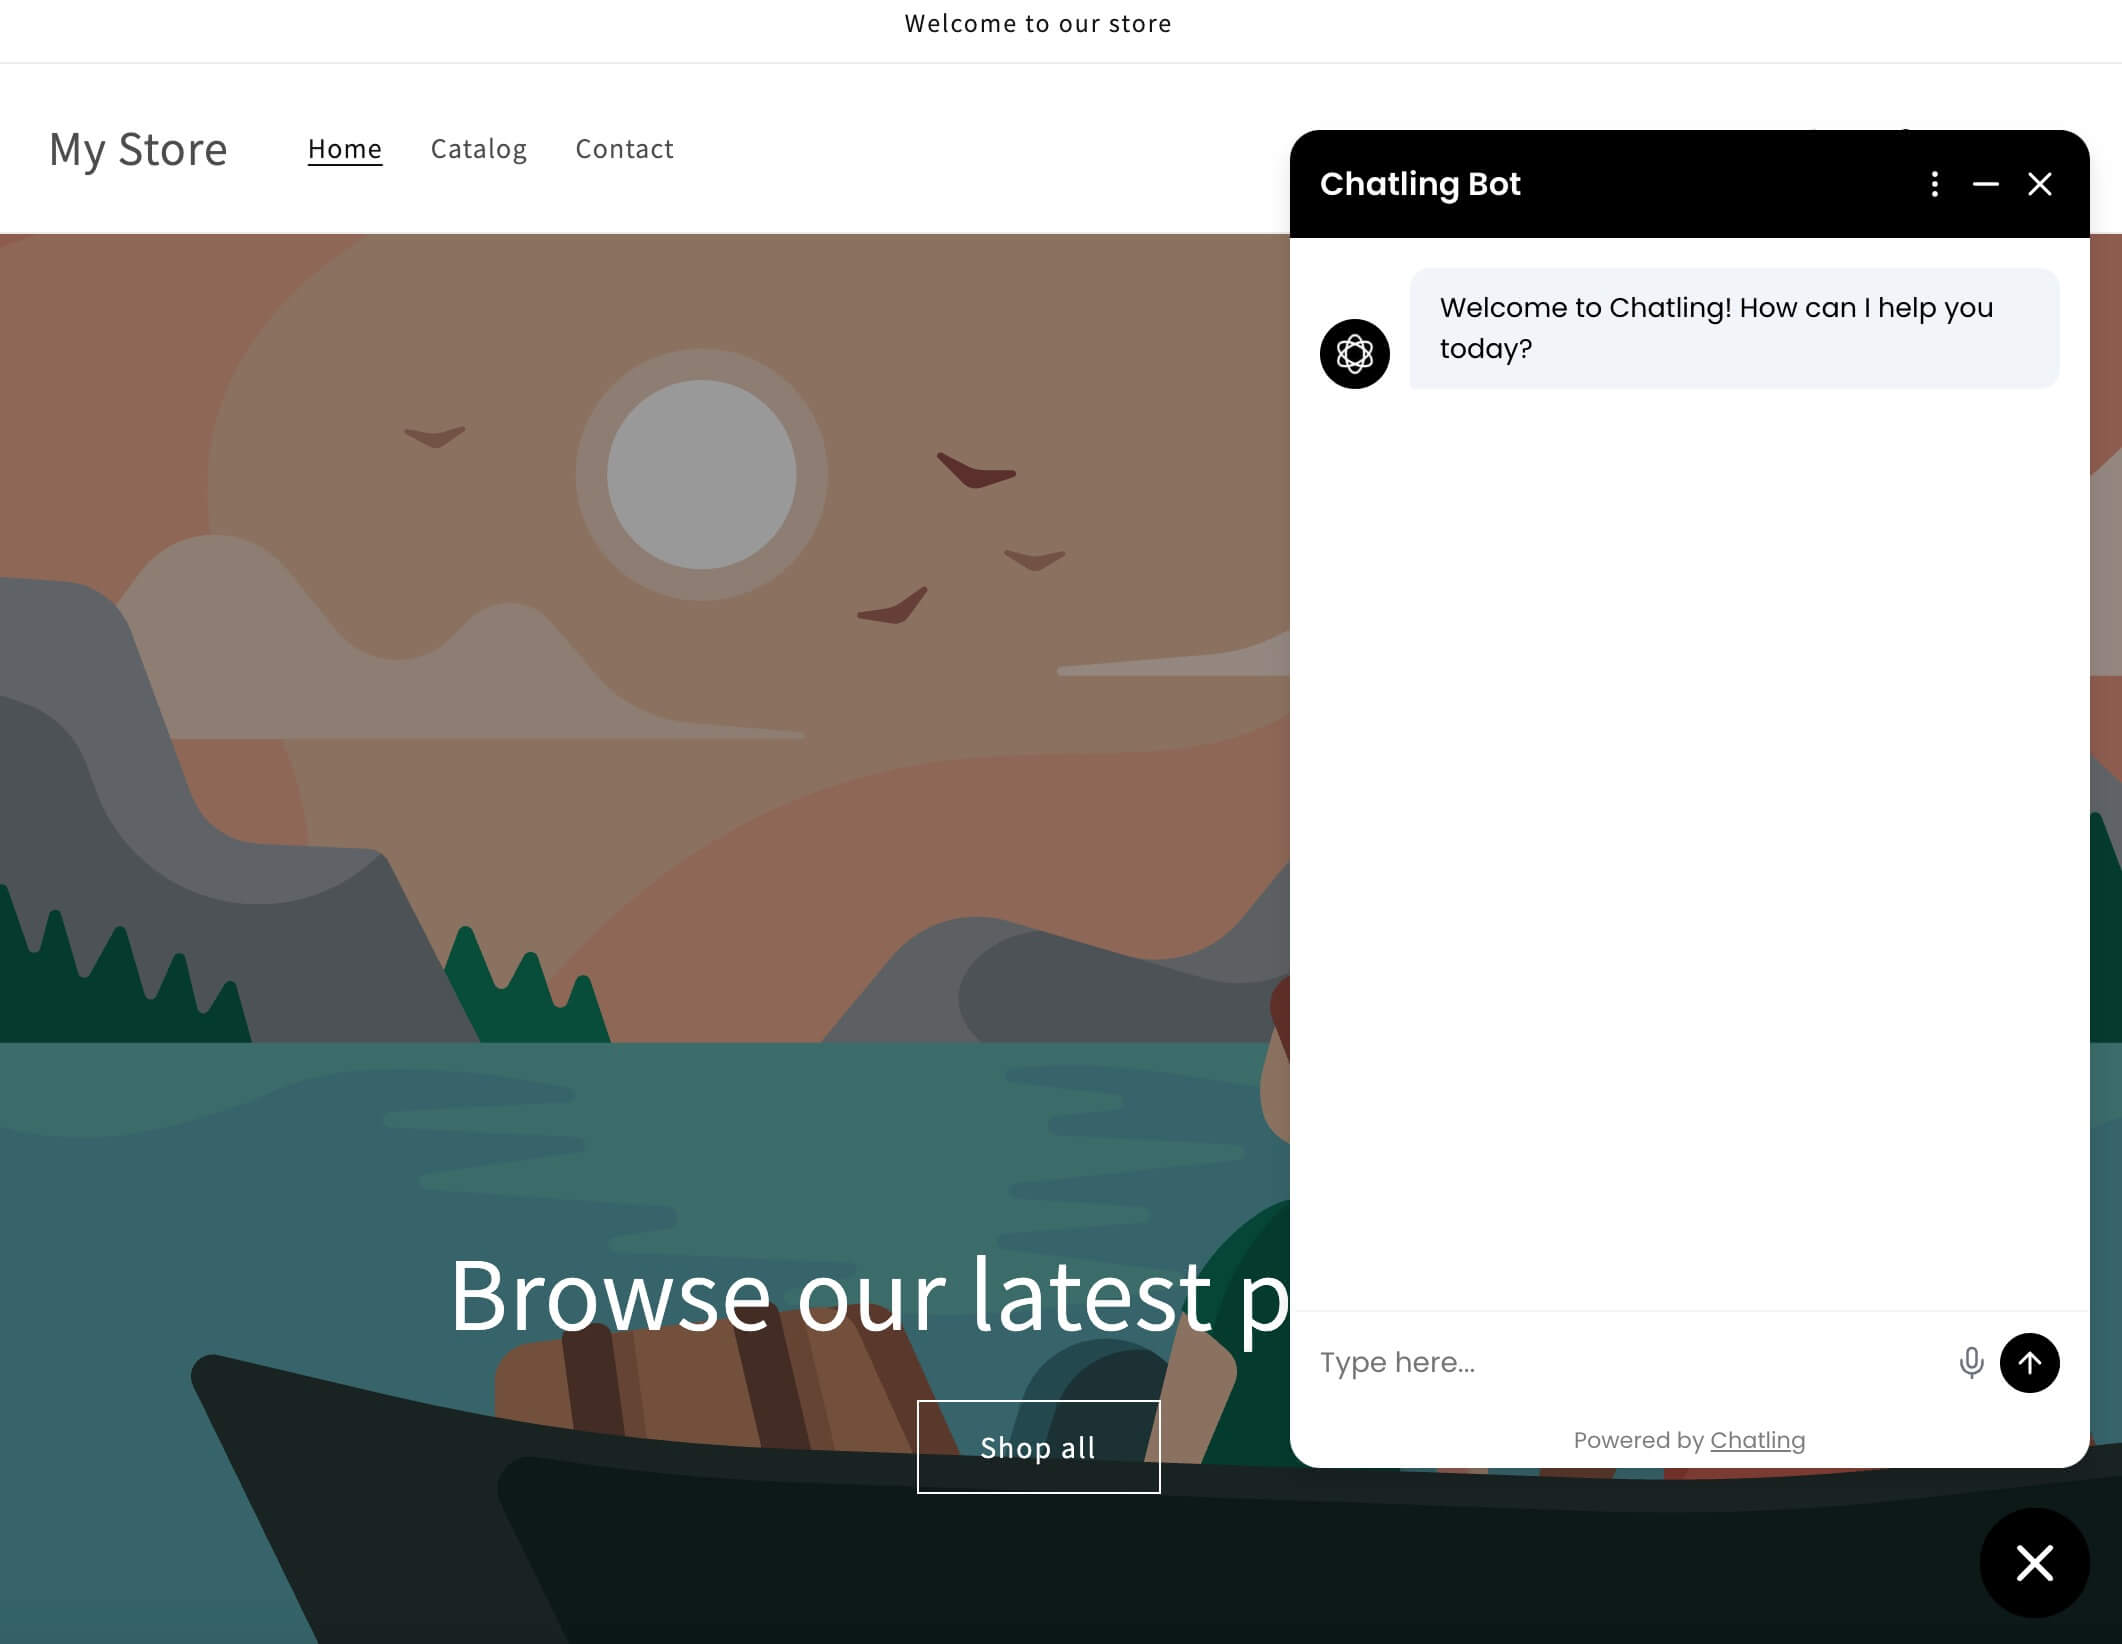
- Select the display mode for your chatbot, such as “Floating Chat”, “Inline”, or “Fullscreen”.
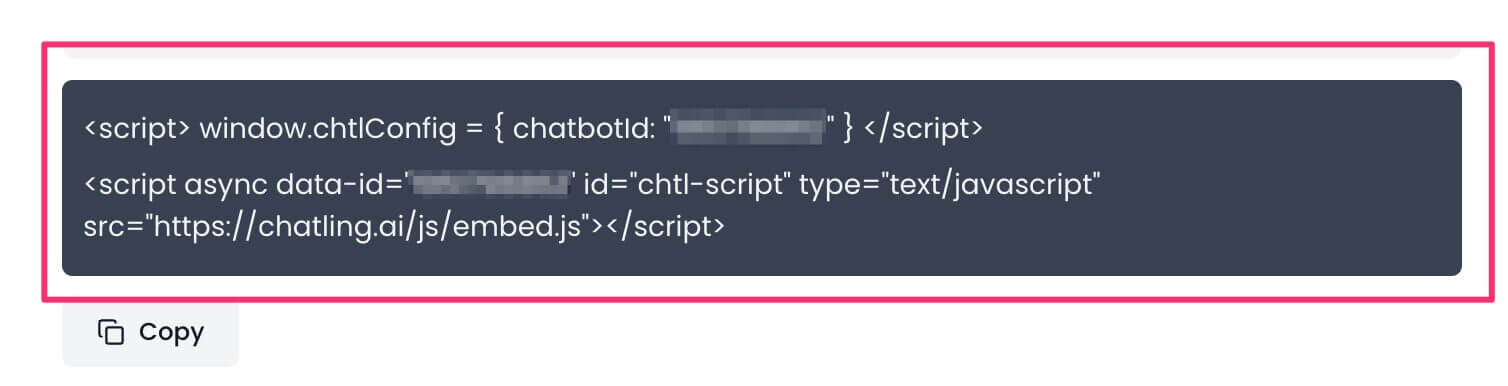
- Copy the widget code.
- Go to your Shopify dashboard and click on
Online Storefrom the sidebar.

- Edit your theme by clicking the ellipsis icon next to your current theme and choosing
Edit code.

- Find and open the
theme.liquidfile From the sidebar where the list of files is displayed.

- Paste the widget code in the
<head>section. You can paste it anywhere between the opening<head>tag and the closing</head>tag.

- Click the Save button.

Method 2: Using Customization
- Follow steps 1-6 from Method 1 to copy the widget code.
-
From your Shopify dashboard, click on
Online Storeand go toThemes.

- Click on the
Customizebutton next to your current theme.

- Under the
Headersection, chooseAdd section. Search forCustom liquidand add it.

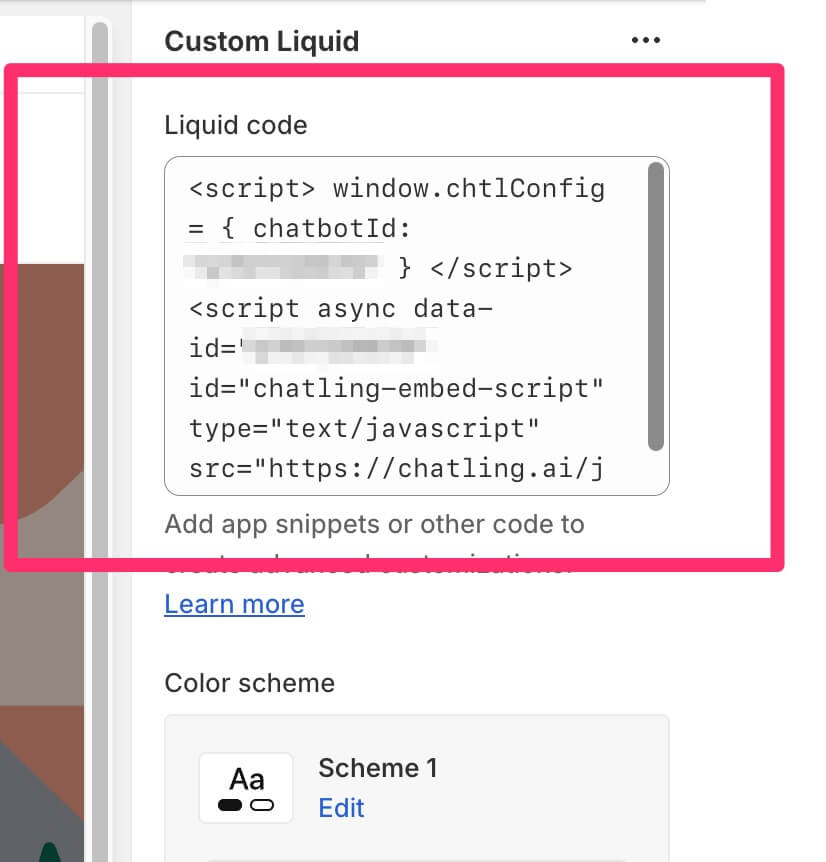
- Open the
Custom liquideditor and paste your widget code into theLiquid codefield.
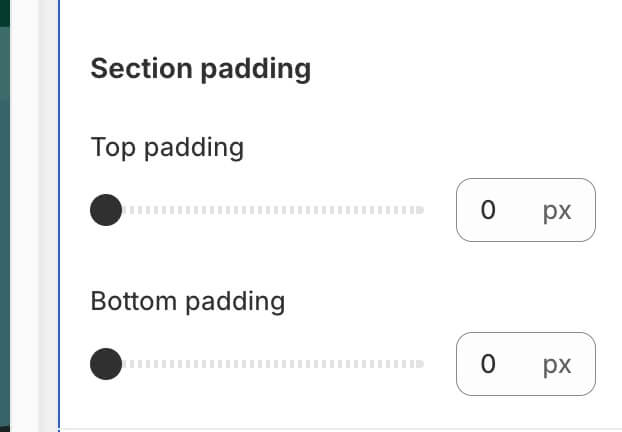
- Set the
Top paddingandBottom paddingto0so the section doesn’t create a blank space in your site’s header.
- Click the
Savebutton.