 You can customize the appearance of your website chat widget to match your brand. Many aspects of the widget, such as the colors, icons, and other design elements can be customized to create a chatbot that fits seamlessly into your website.
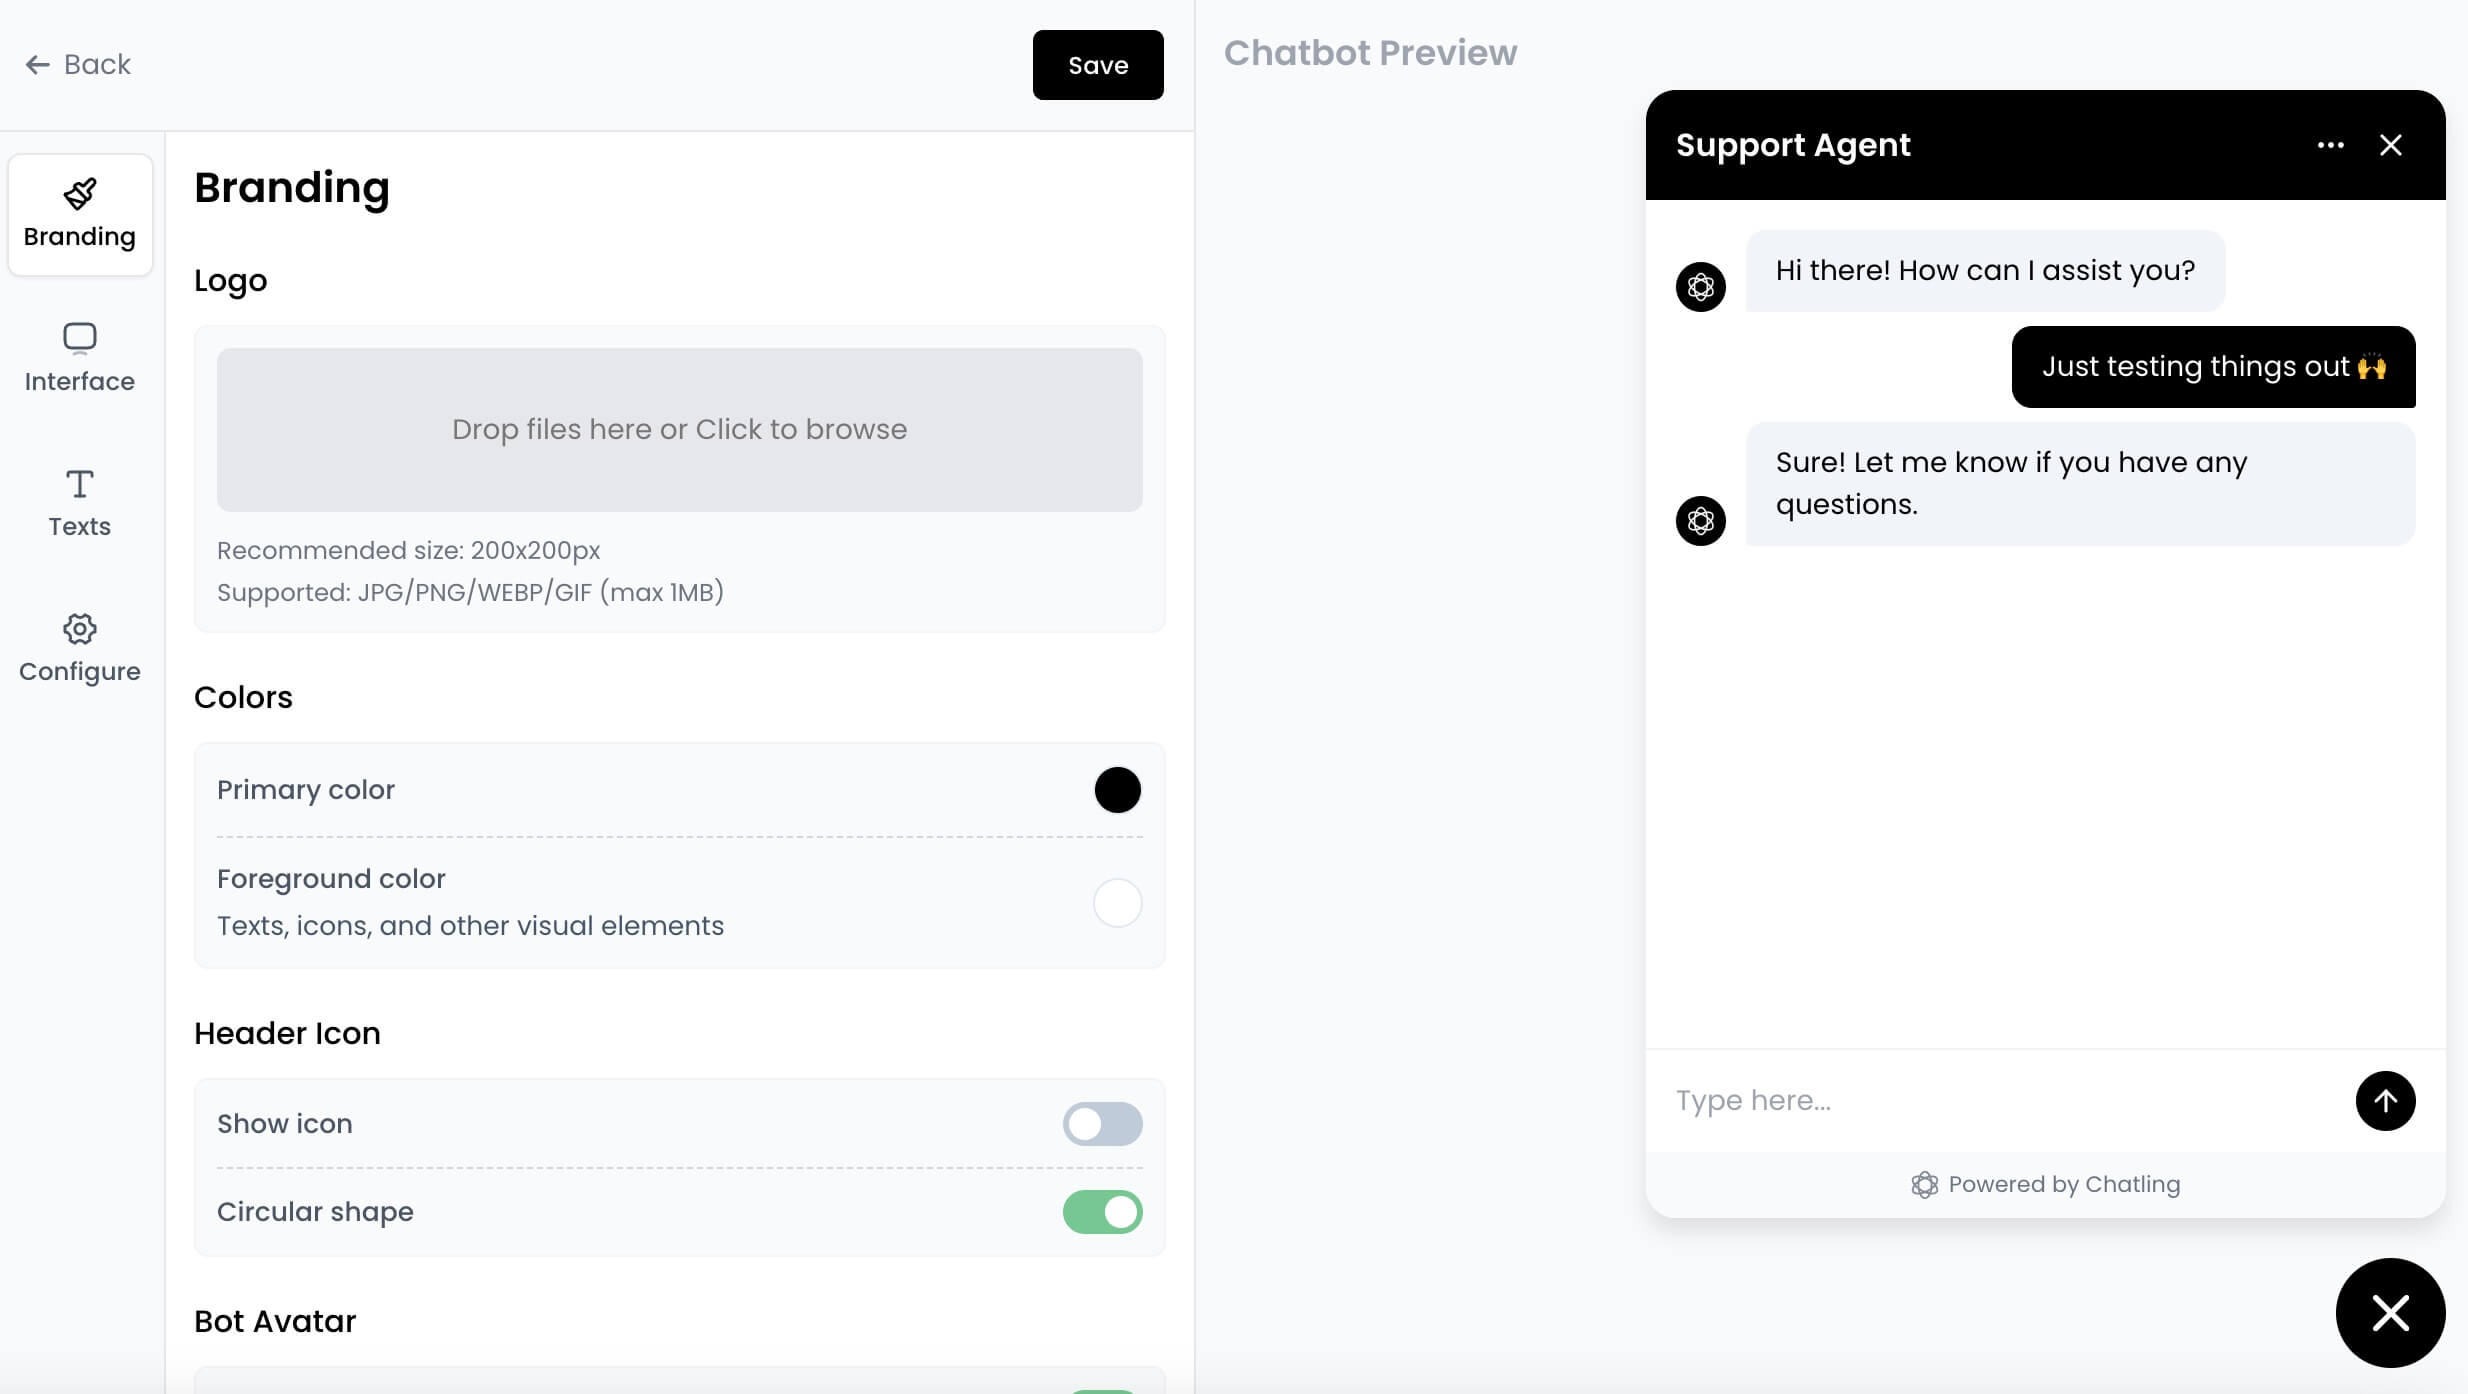
How to customize the widget
- Go to your chatbot or AI agent’s dashboard.
- Click the
Deploybutton in the sidebar menu.

- Under the
Website Widgetoption, click the brush icon to open the widget editor.

Customization options
Here are some of the available customization options:- Colors: Change the primary, secondary, and chat icon colors.
- Chat Width: Set the width of the chat window.
- Position: Choose the position where the widget should appear on your website, such as bottom right or bottom left.
- Bot Icon: Upload a custom image for the icon that appears next to the bot’s messages.
- Chat Icon: Upload a custom image for the chat icon that users click to open the chatbot.
- Header Title: The title that appears at the top of the chat window, such as “Support Chat” or “Virtual Assistant”.
- Interface Language: The language of the chatbot’s interface. Note that this doesn’t affect the language used by the AI.
- Ask user to rate AI response: Enabling this will display a thumbs up/down icon after the AI response, allowing users to rate it. This feedback can be used to improve the AI’s performance.
- Hide “Powered by Chatling” text: At the bottom of the chatbot, there’s a “Powered by Chatling” text. You can hide it by enabling this option.
- Hovering Message: You can display attention-grabbing messages above the chat icon to encourage users to start a conversation.
- Show Sources for AI Response: Enable this option to show the sources of the AI responses when it answers from the Knowledge Base. This helps users understand where the information is coming from.
- Auto-Open Chat: Automatically open the chat window when the page loads.
Save button to apply them to your chatbot.