- Login to your Chatling account.
- From the “My agents” page, click the
Createbutton.

- Choose
AI Agentas the type.
To learn the difference between AI Agents and Chatbots, refer to this page.

- Enter a name for your Agent and click the
Create agentbutton.

- From your Agent’s dashboard, click the
Deploybutton in the sidebar.

- Click the
Setupbutton under theWhatsAppoption.

- A popup will appear to guide you through the process of connecting your WhatsApp Business account to Chatling.
- Click the
Login with Facebookbutton to continue.

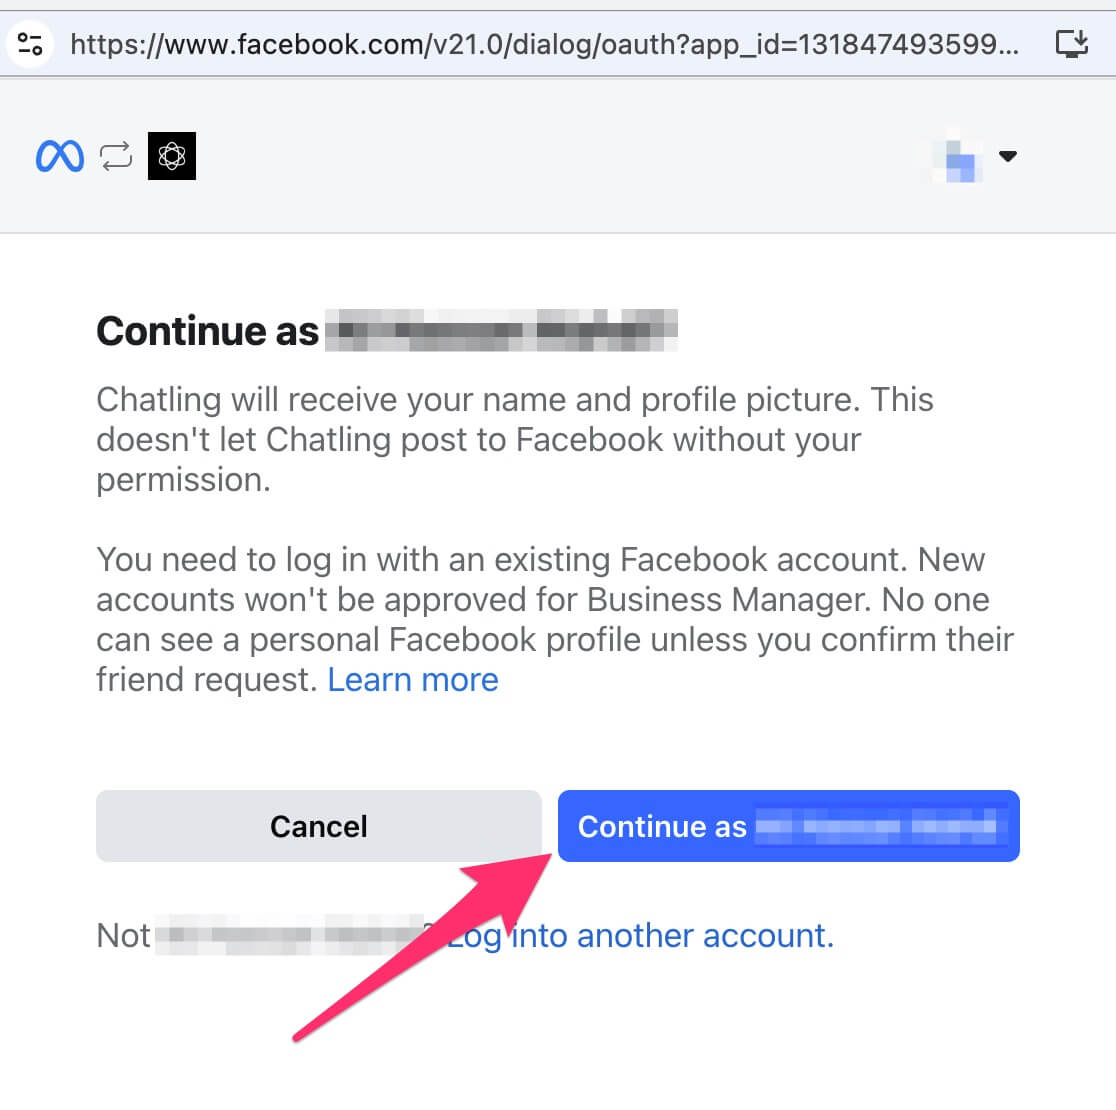
- The Facebook authentication window will open. Sign in to your Facebook account and click the
Continuebutton.
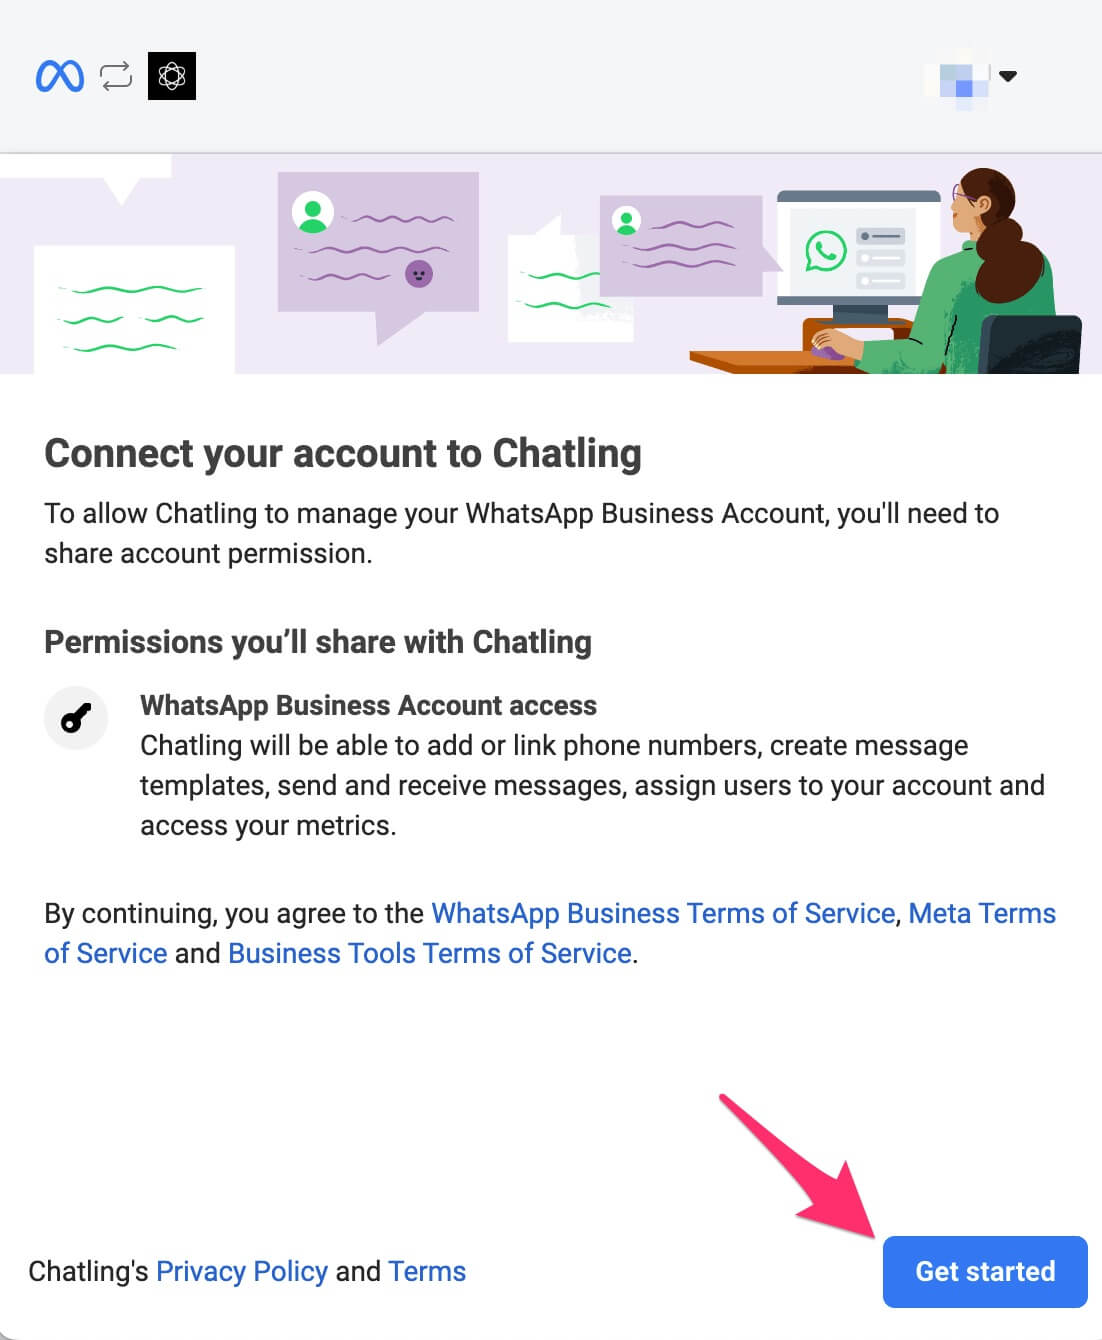
- Select
Get started.
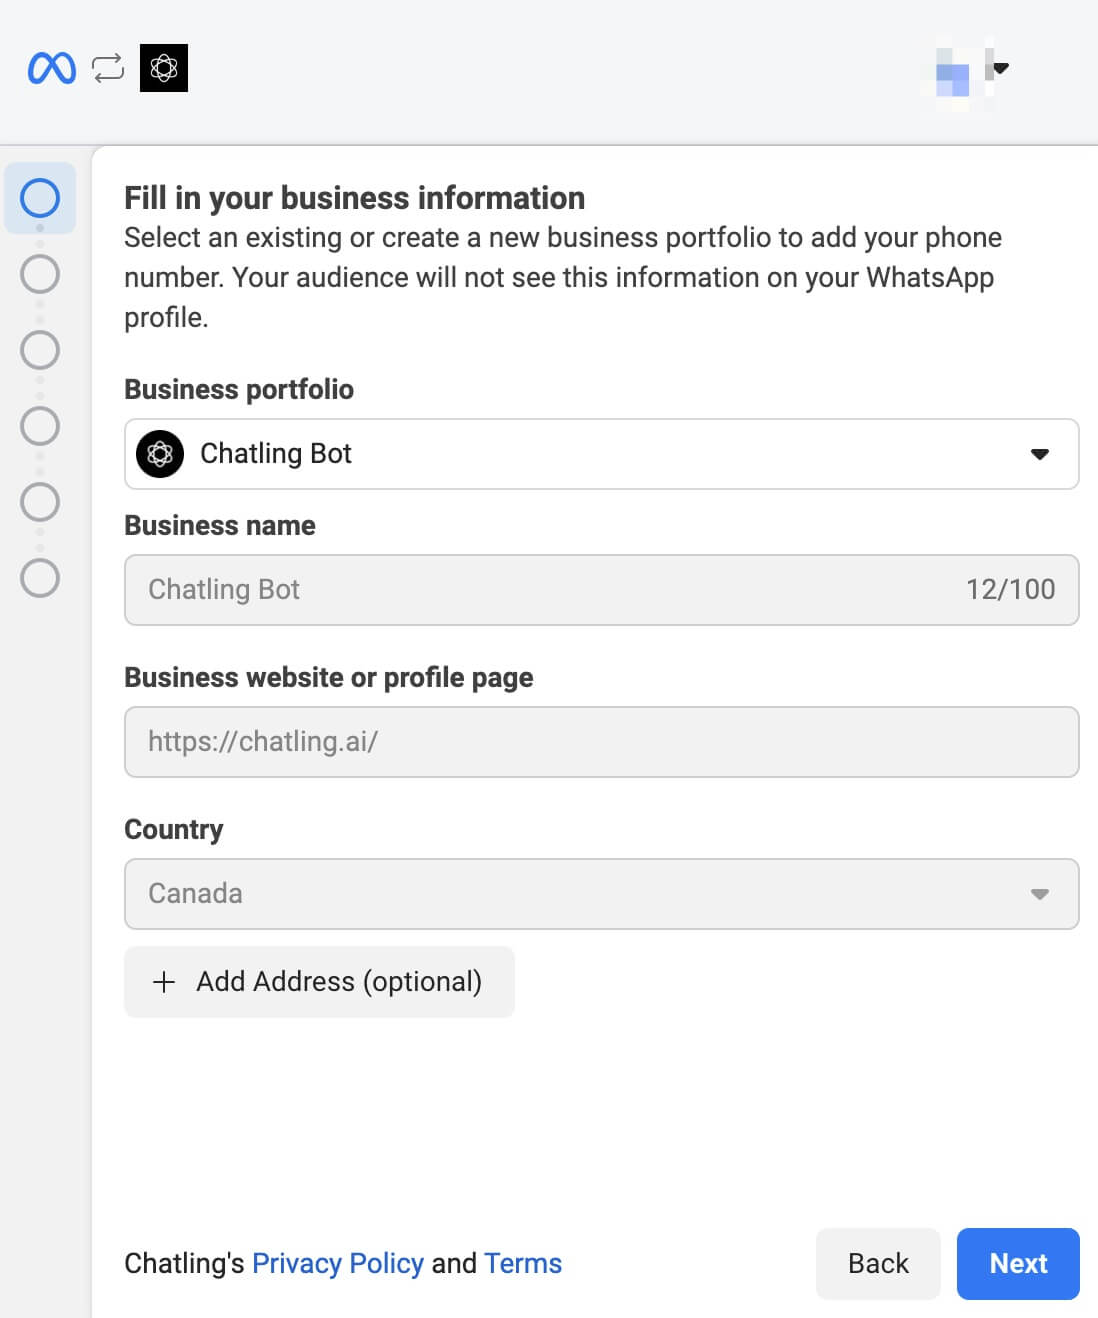
- Choose or create a new business profile.
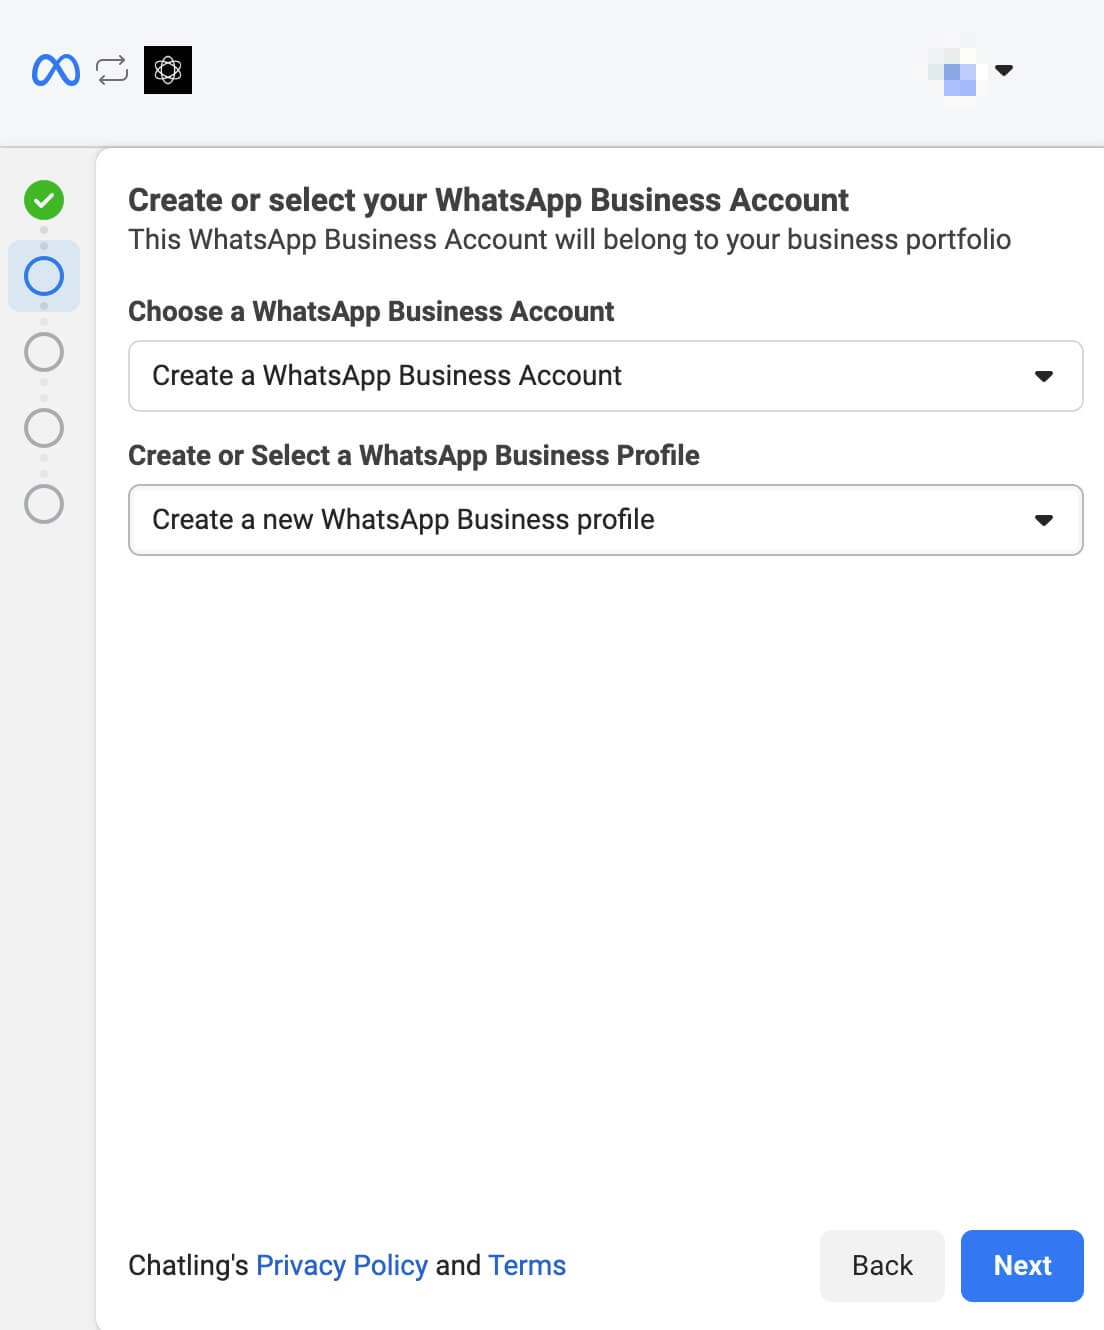
- Choose or create a new WhatsApp Business account and profile.
- If you chose to create a new profile:
- Enter the required information for the profile.
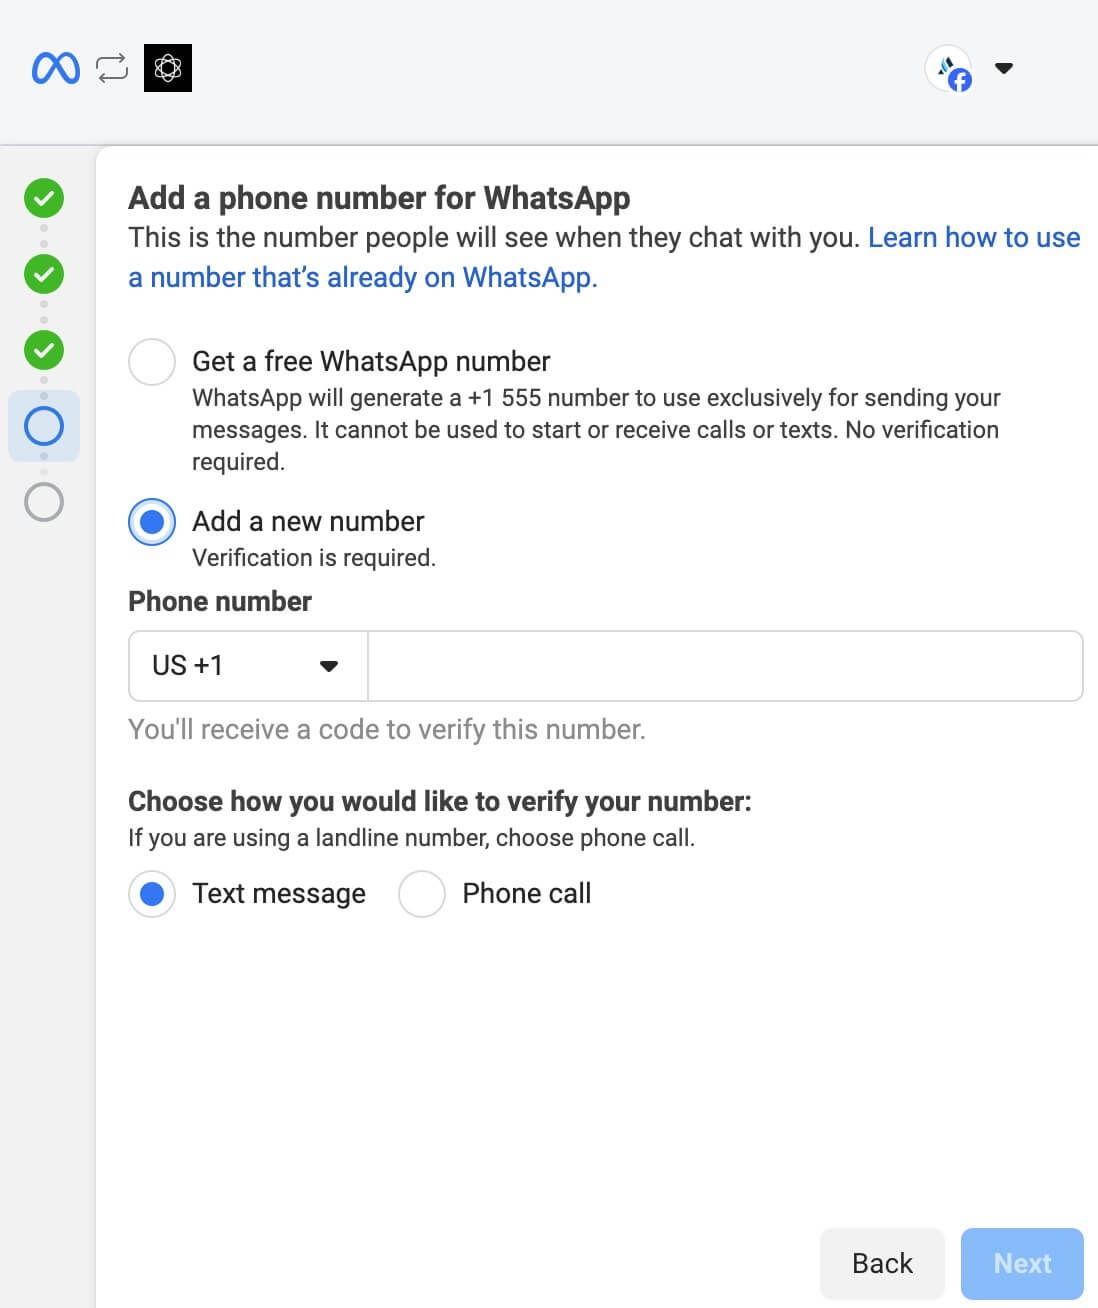
- When prompted to add a phone number, select
Add a new phone number. Do not selectGet a free WhatsApp numberas it will not work with Chatling.
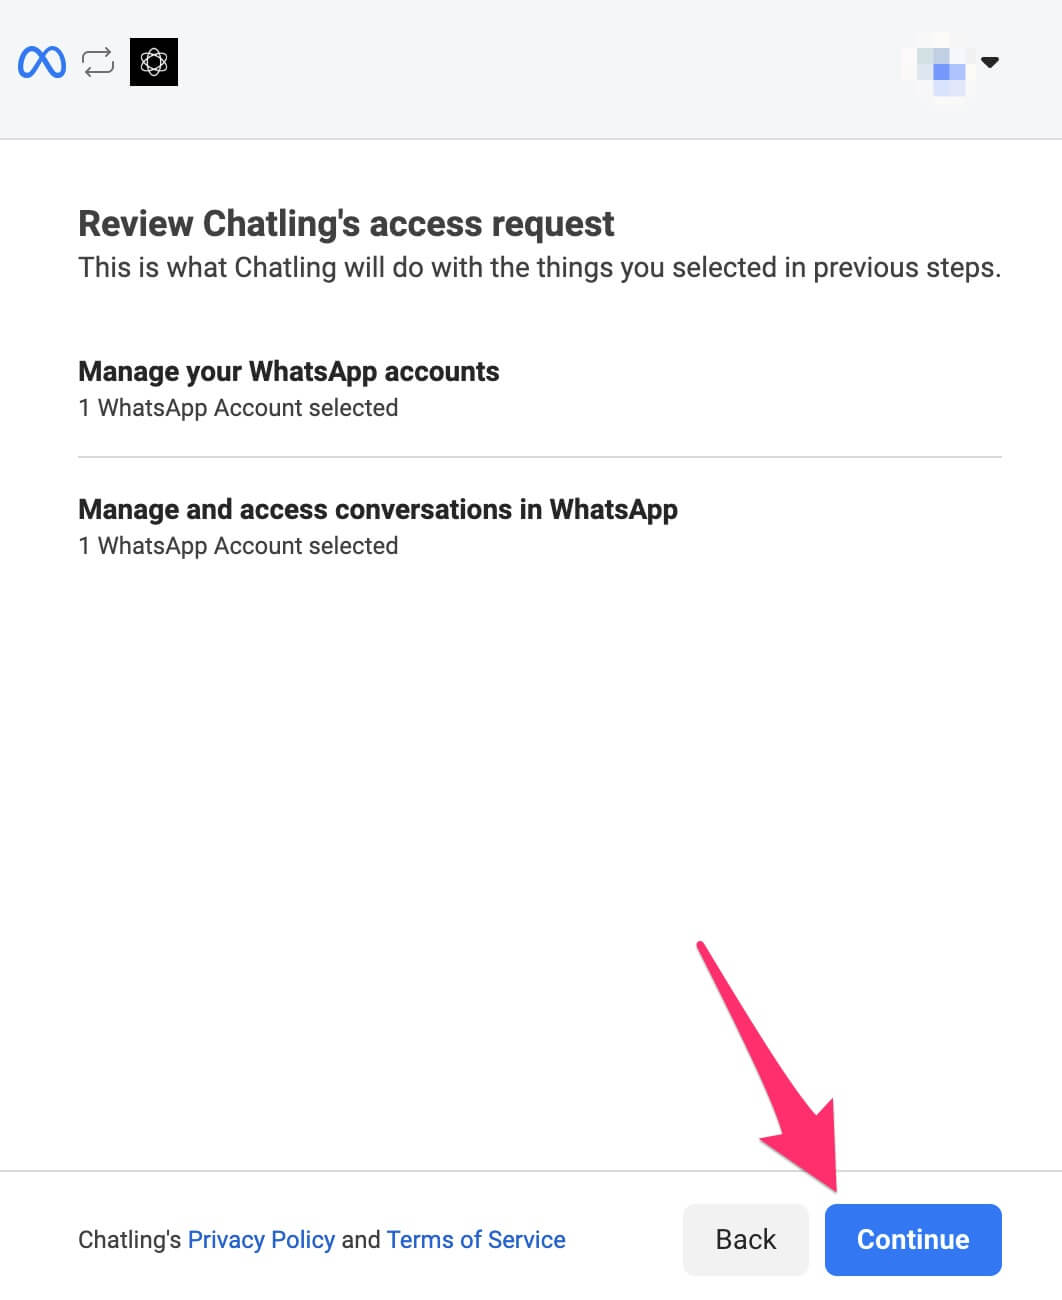
- Facebook will display the permissions required by Chatling. Review and click the
ContinueorConfirmbutton.
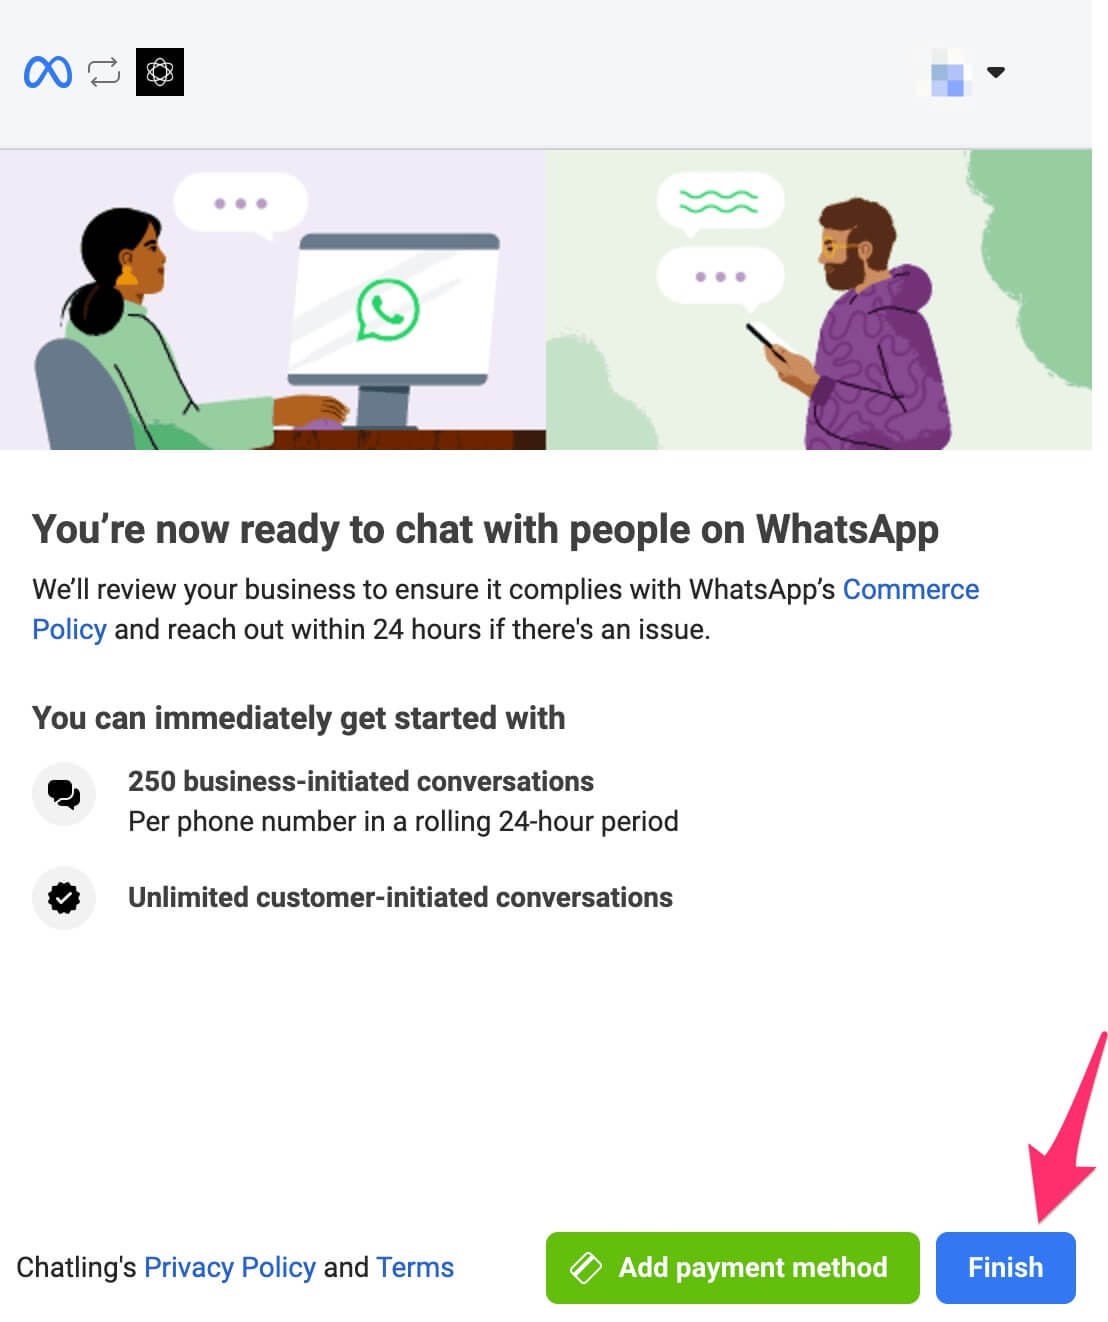
- Facebook begins verifying the information you provided. Once it’s completed successfully, you should see a message similar to below. Click the
Finishbutton.
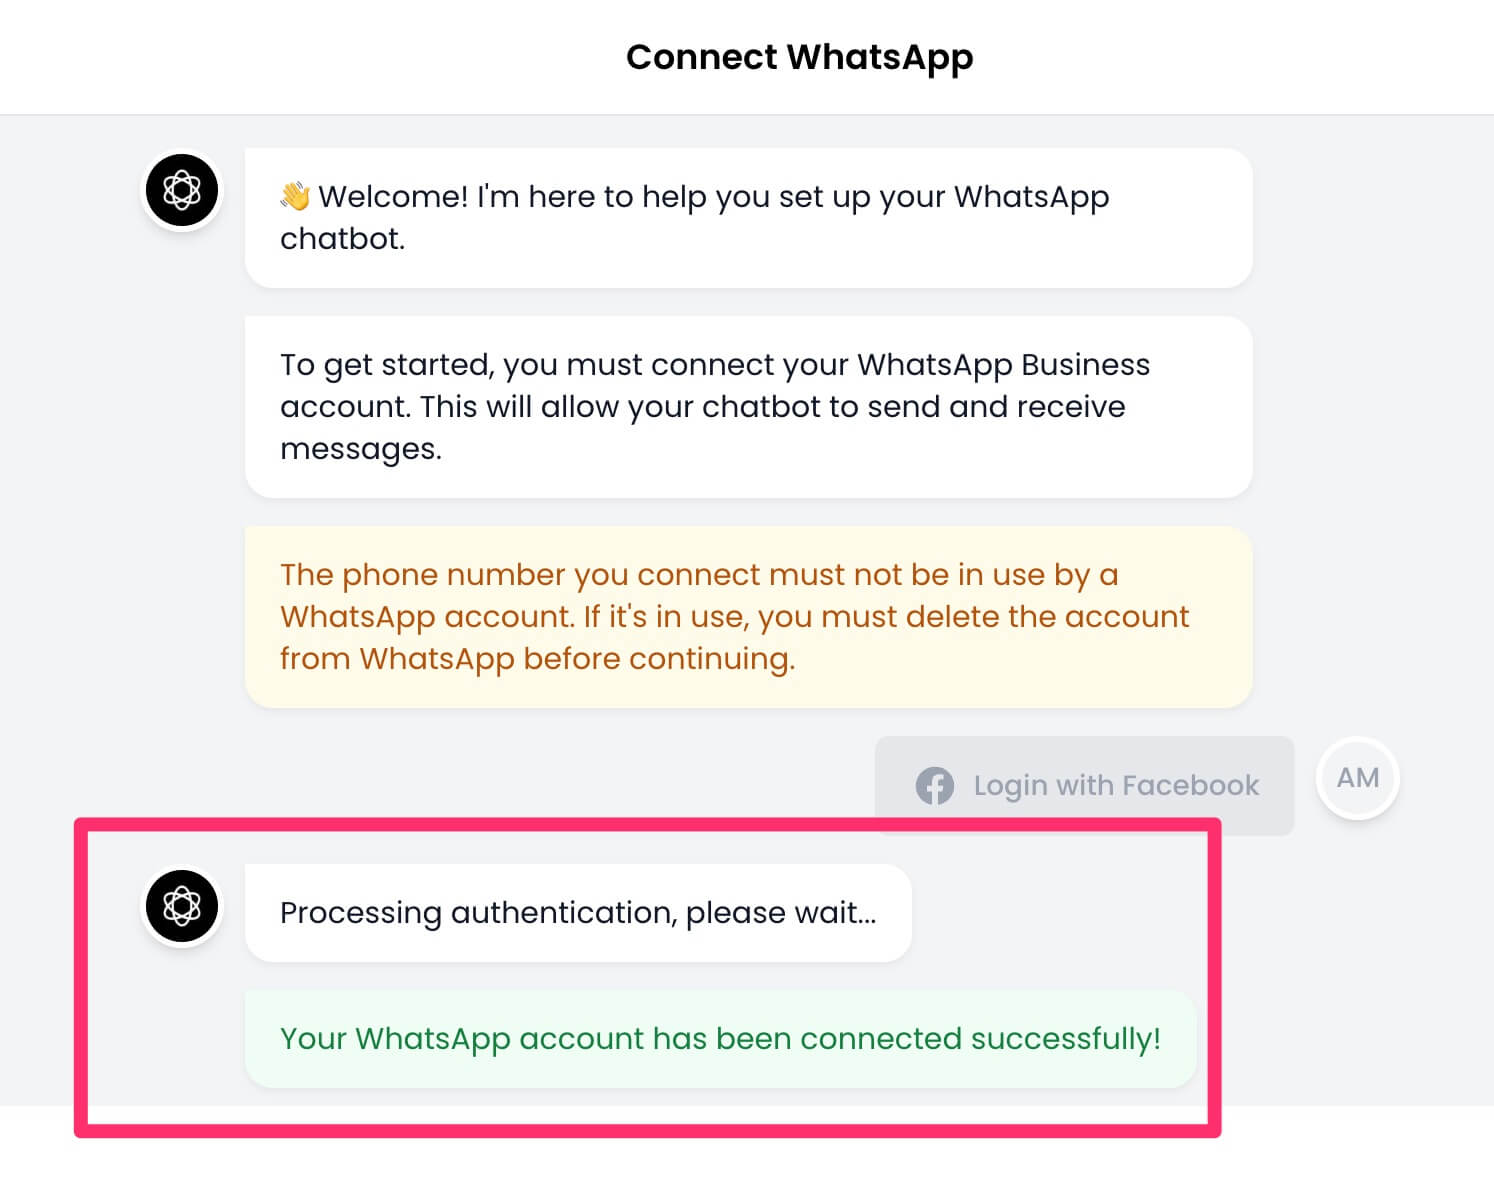
- Go back to Chatling and a message will be displayed that your authentication is being processed. If successful, you should see a message similar to below.
- Next, you must enter a 6-digit code for two-factor authentication so your phone number can be registered with WhatsApp. If the number already has 2FA enabled, enter the same code you had set up.

- Once the phone number is registered successfully, you’re all set and your WhatsApp Business account is connected to Chatling. Click the
Closebutton to finish the setup process.