
Setup Guide
- Open your agent dashboard and go to Actions.
-
Click the
Newbutton and chooseHTTP Request. - Set up the action as follows:
email: The email address of the order. Save it to a variable, such as “email”.order_number: The user’s order number. Save it to a variable, such as “order_number”.
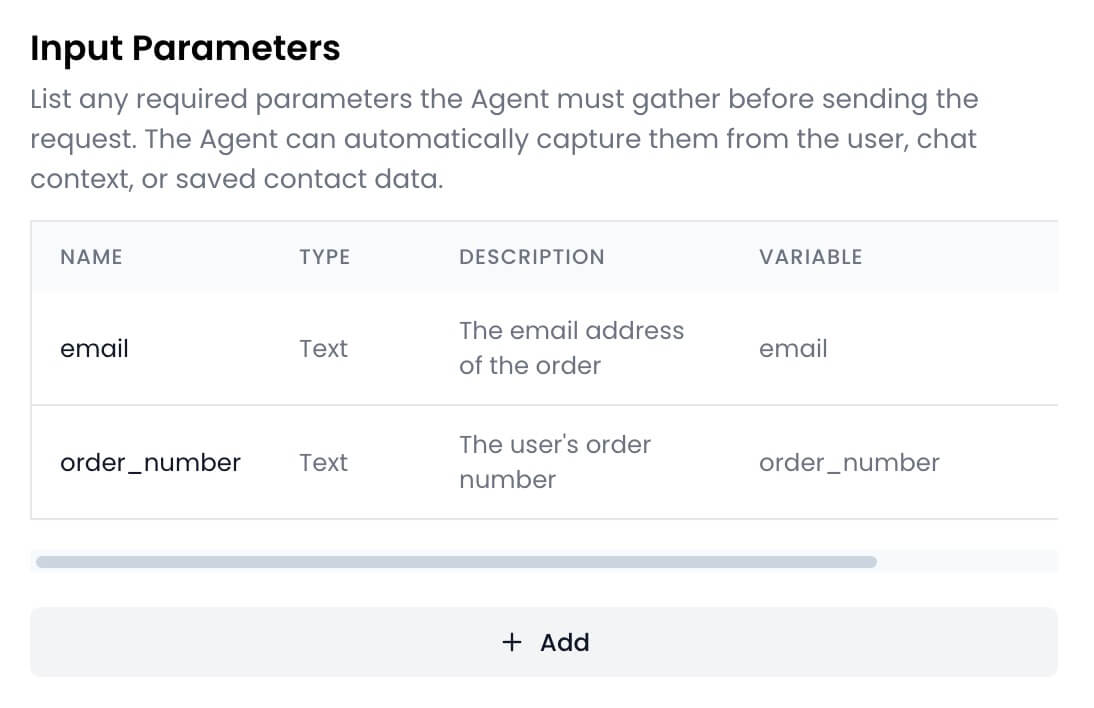 Request: Configure the request by defining the API URL, method, payload, and headers that will be used to fetch the user’s order.
For this tutorial, we’ll use a dummy API that returns an order. However, in a real app, you’d point the HTTP Request to your own or third-party API, include auth (e.g., Bearer token), and the relevant payload such as the user’s email and order number.
Request: Configure the request by defining the API URL, method, payload, and headers that will be used to fetch the user’s order.
For this tutorial, we’ll use a dummy API that returns an order. However, in a real app, you’d point the HTTP Request to your own or third-party API, include auth (e.g., Bearer token), and the relevant payload such as the user’s email and order number.

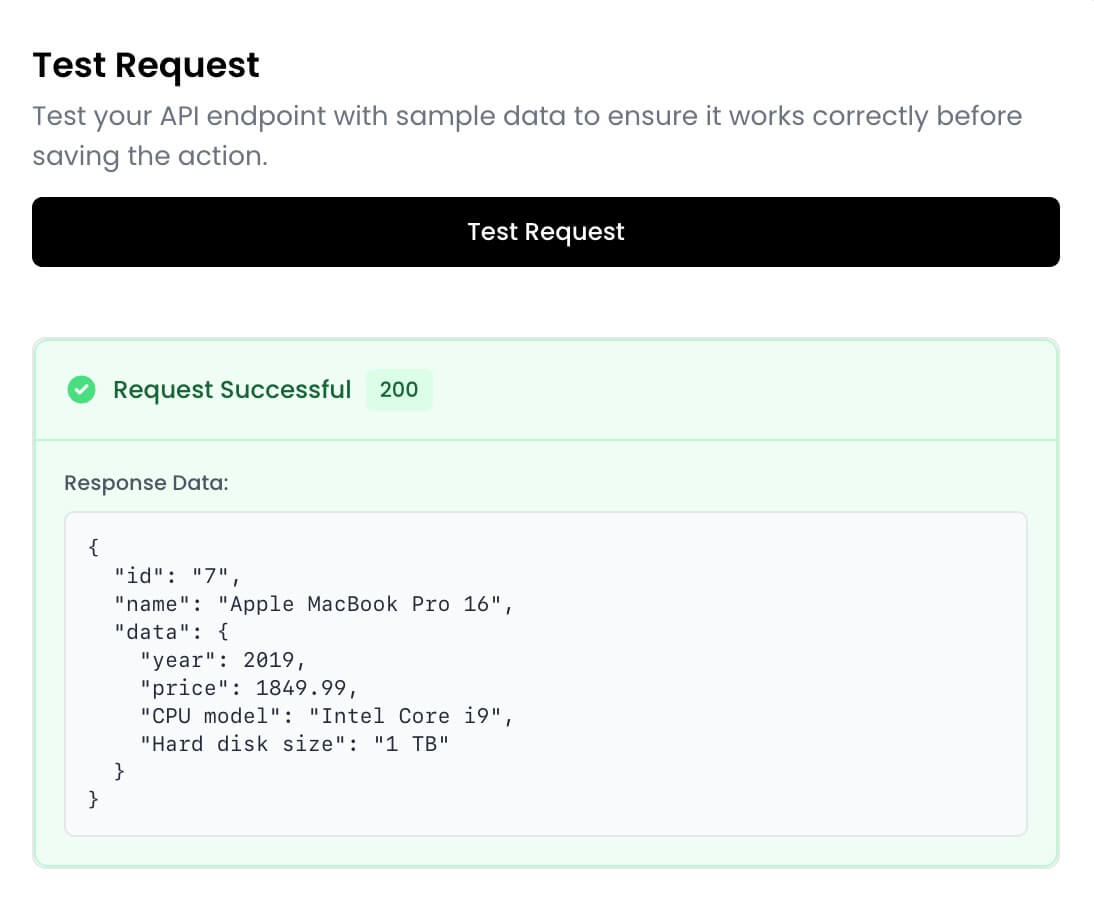
- Click the
Test Requestbutton to verify that the request runs successfully and that the agent receives a valid JSON response.
- Click
Create actionto save the action. - Go back to the
Actionspage. - Click the
Newbutton and chooseSend Email. - Set up the action as follows:
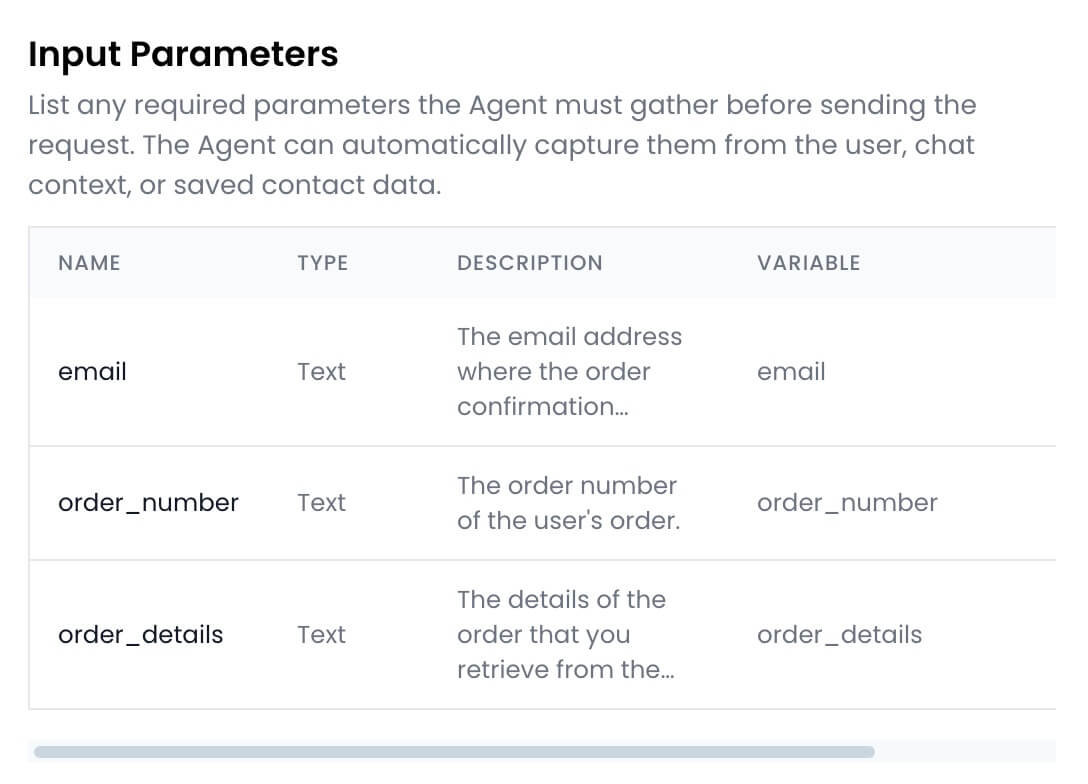
email:- Description: The email address where the order confirmation should be sent.
- Save to variable: email
order_number:- Description: The order number of the user’s order.
- Save to variable: order_number
order_details:- Description: The details of the order that you retrieve from the get_order action. Format it as HTML with bullet points.
- Save to variable: order_details
 Email Setup: configure the email as follows:
- Sender name: A name of your choice, for example
Apple - To: Type in
{{email}}and press Enter to use the email address of the user. - Subject:
Order confirmation for #{{order_number}} - Message:

- Click the
Create actionbutton to save the action.
Test the actions
Now that you’ve set up the actions, it’s time to test them. From theActions page, enable both the actions.
Go to the Playground page to start a chat with your agent. Ask the agent to email your order confirmation. It should fetch the order details from the API and email the order confirmation to the email address you specify.
Here’s an example of how the agent would respond: