Chatling Documentation home page
Search...
⌘K
Dashboard
Search...
Navigation
Installation
Wix
Documentation
API Reference
Getting started
Chatbot Builder
Overview
Canvas
Sidebar
Block Editor
Blocks
Block Options
Variables
Test your chatbot
Save your work
Publish your chatbot
Chatbot
Duplicate
Visibility
Operating hours
Satisfaction survey
Share
Custom domain
Delete
Chatbot Widget
Installation
Overview
Custom Website
WordPress
Google Tag Manager
Shopify
Squarespace
Wix
Webflow
Bubble
PrestaShop
Widget SDK
Pass custom data to the widget
Customization
Language
Add footer text (disclaimer, privacy notice, etc.)
Whitelist domains
Rate limit
Download transcripts
Knowledge Base
What is the Knowledge Base?
Types of data sources
Add data source
Exclude webpage sections
Re-sync data sources
Auto-sync data sources
Delete data sources
Contacts
Overview
Save contacts from chatbot conversations
Identify users across multiple chats
WhatsApp
Overview
Create chatbot
Connect WhatsApp account
Display name approval
Change language
Customize profile
Disconnect account
Reconnect account
Intents
Introduction
Manage intents
Using intents
AI
Supported AI models
Instructions
Setting the AI model
Displaying sources
Fixing incorrect AI answers
Team Members
Overview
Roles
Invite
Remove
FAQ
How to hide the chatbot on specific pages
What are AI credits?
How many AI credits are consumed by each model?
How to reset the chat on page load?
Got other questions?
Installation
Wix
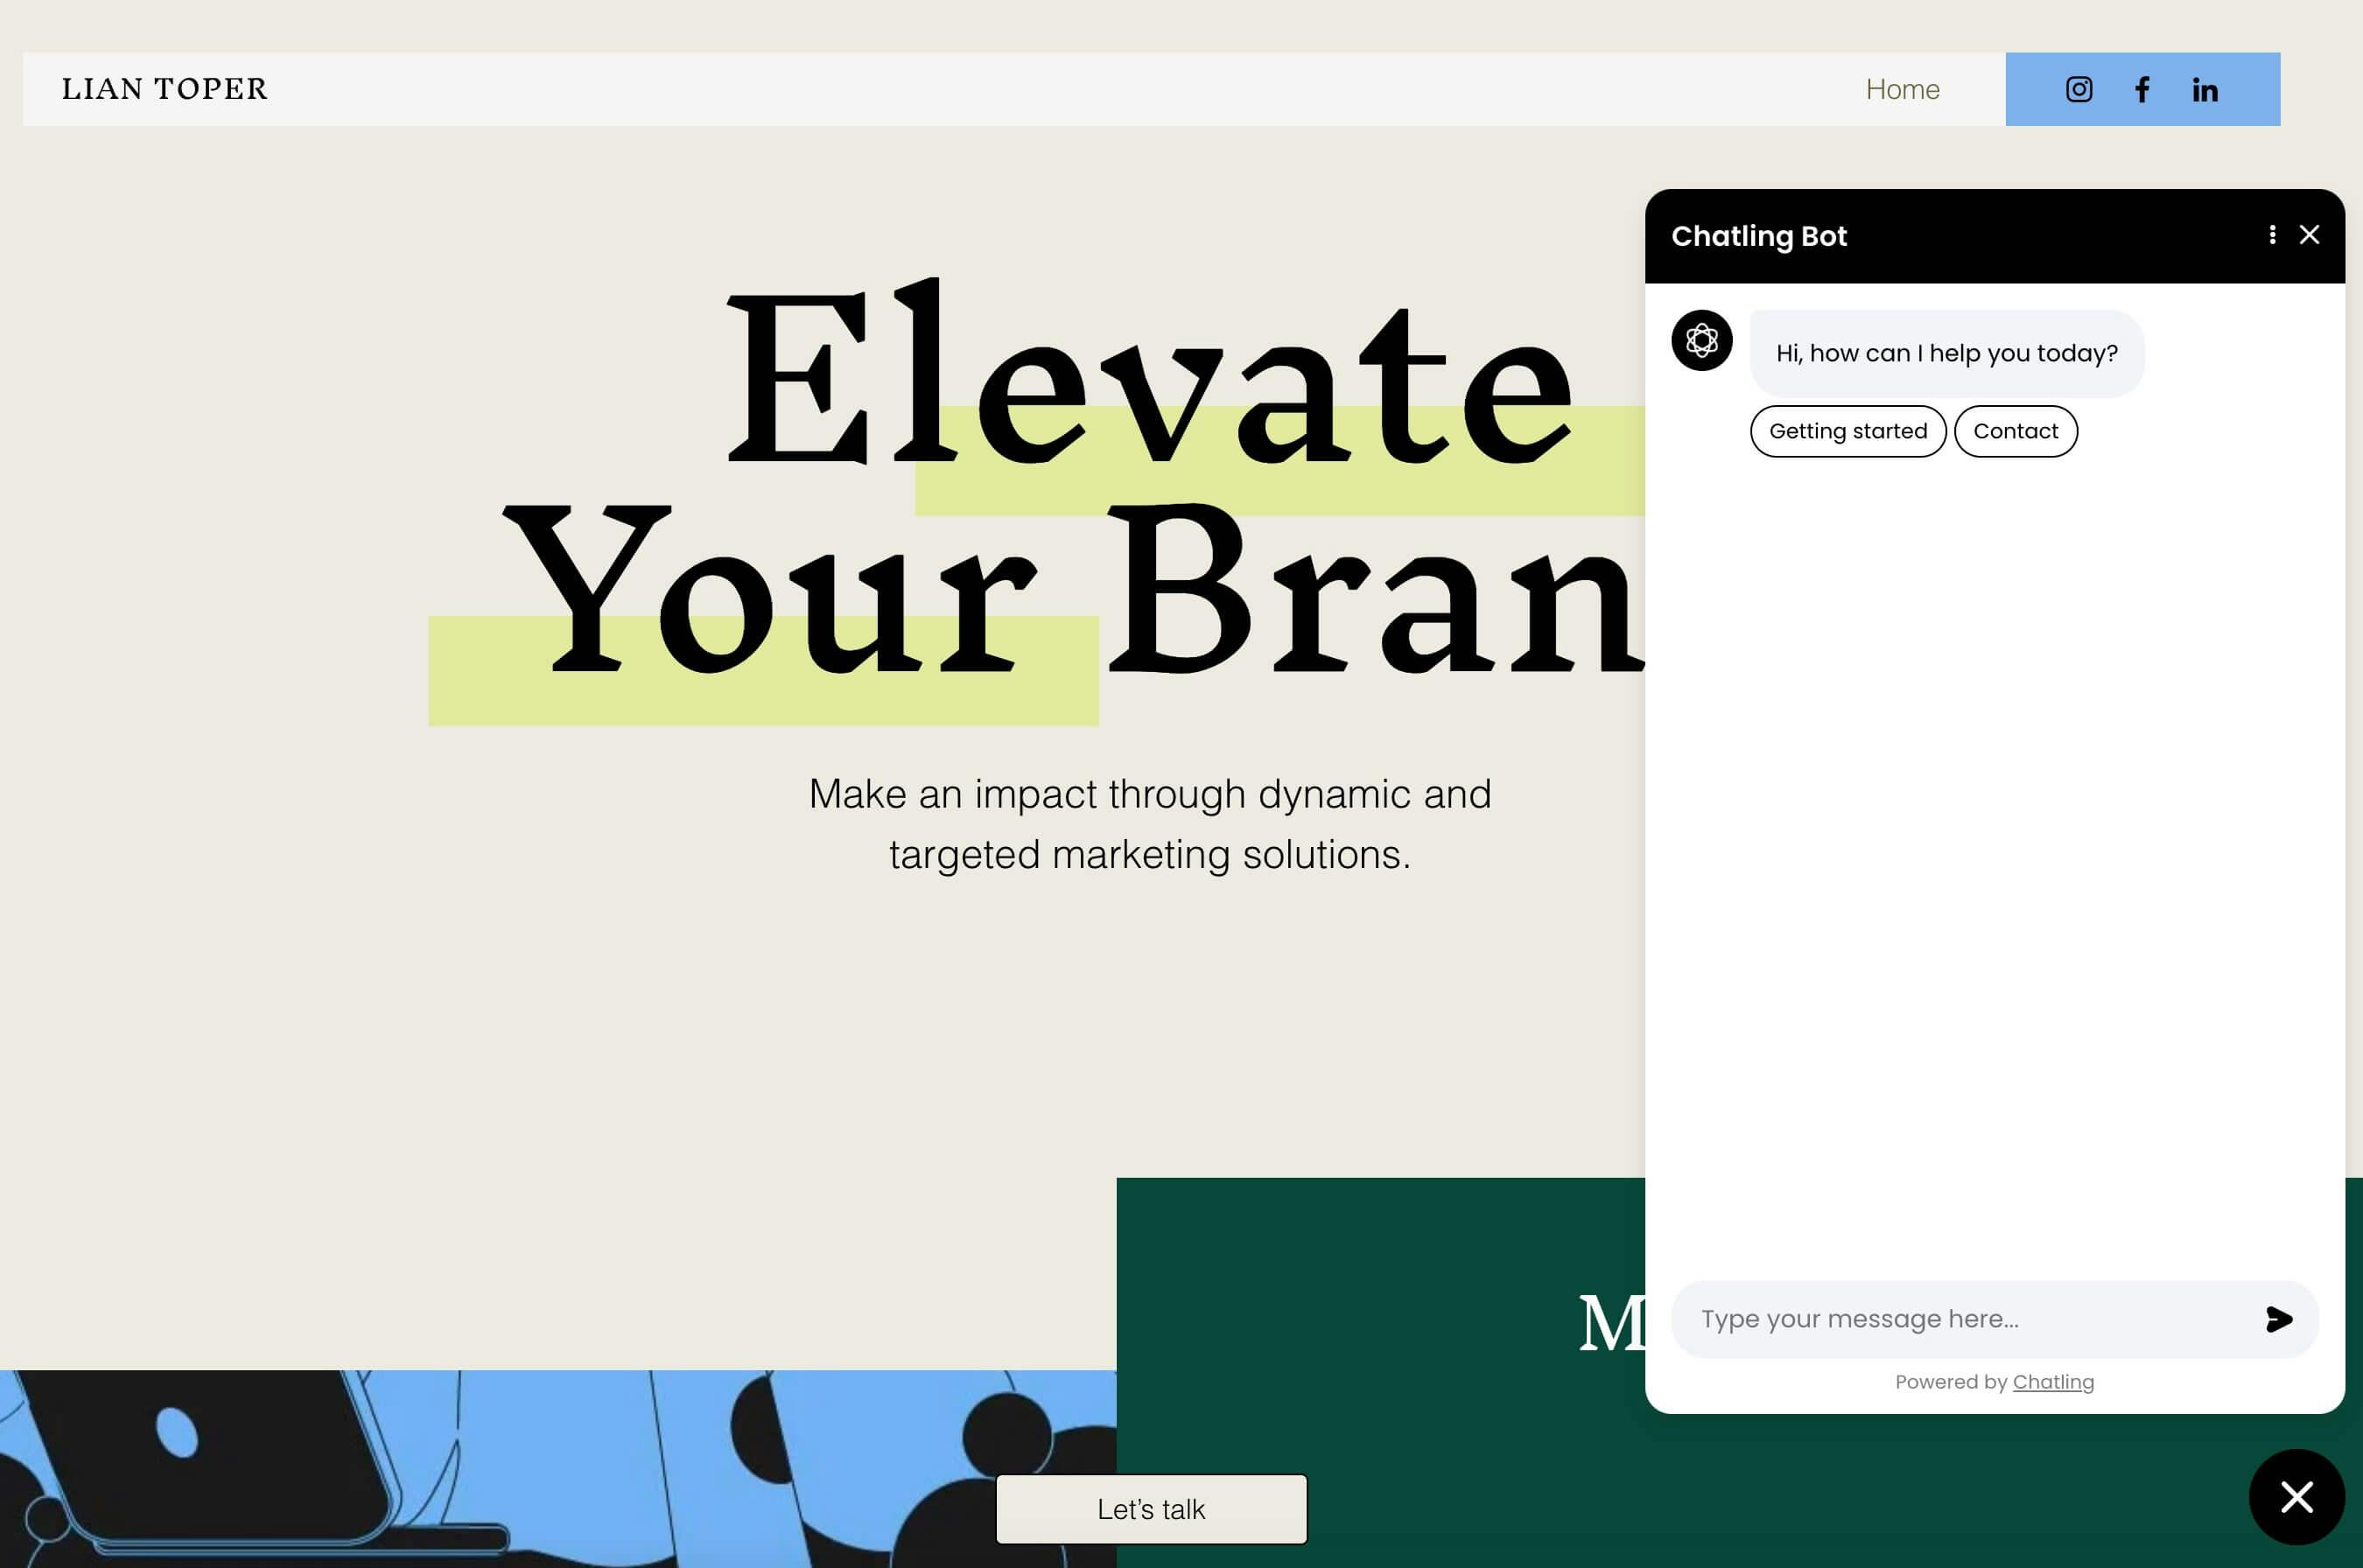
Learn how to add Chatling to your Wix website
Go to your chatbot’s dashboard.
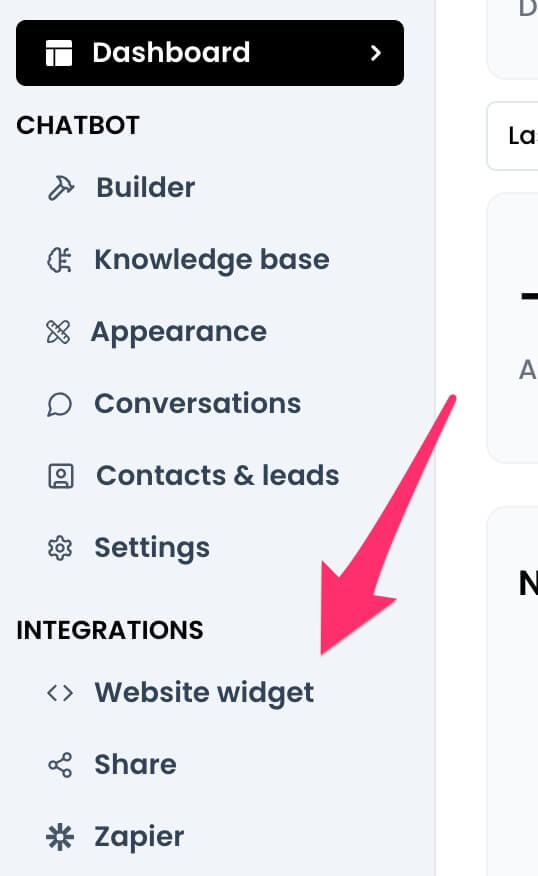
Click on
Website widget
in the sidebar.
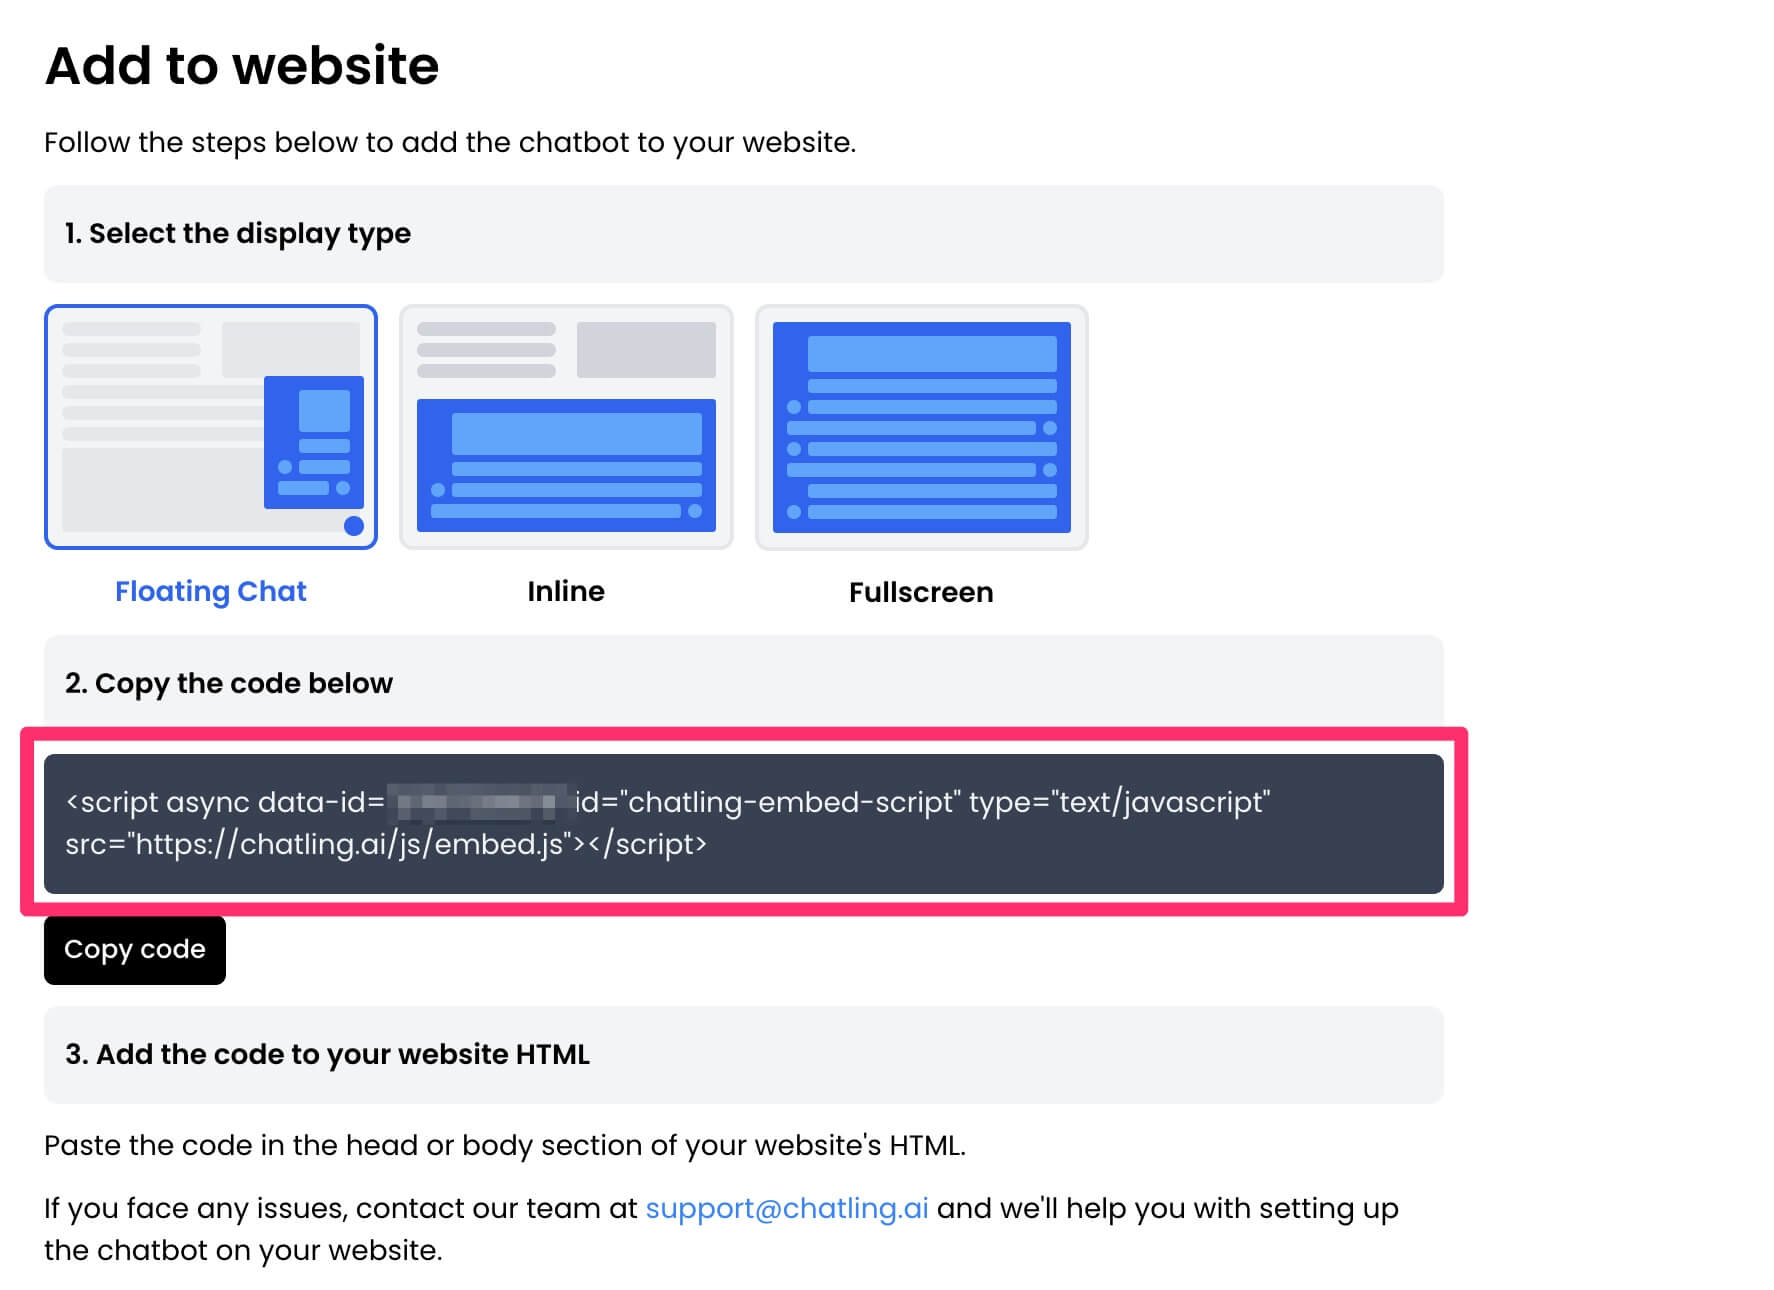
Copy the widget code provided.
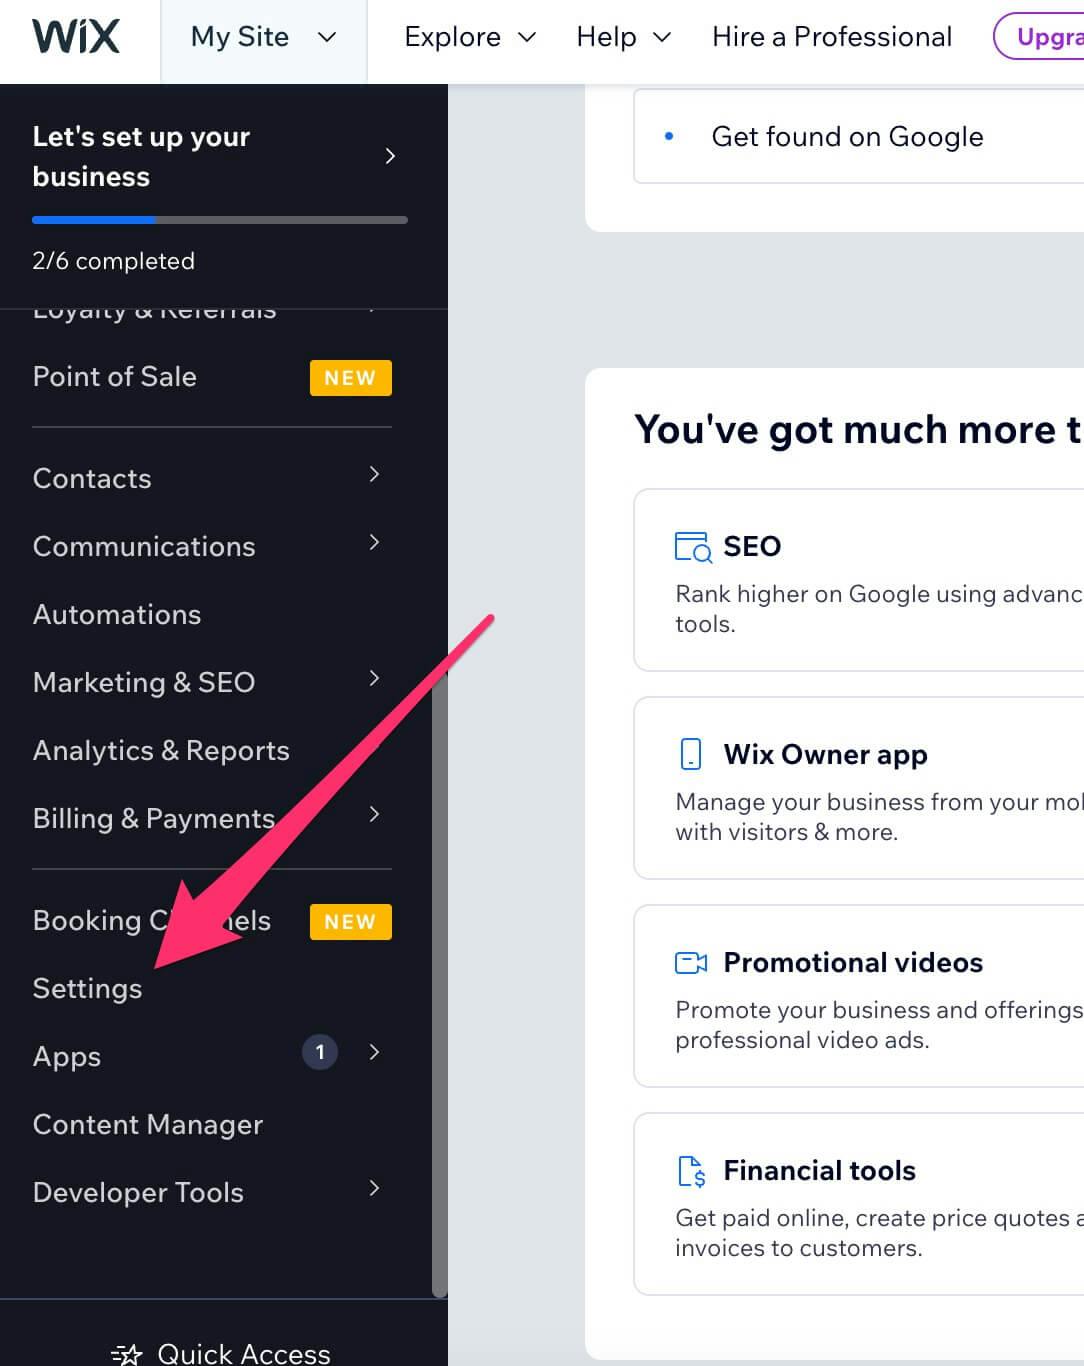
Go to your Wix dashboard and click
Settings
from the sidebar menu.
Scroll down to the Advanced section and click
Custom code
.
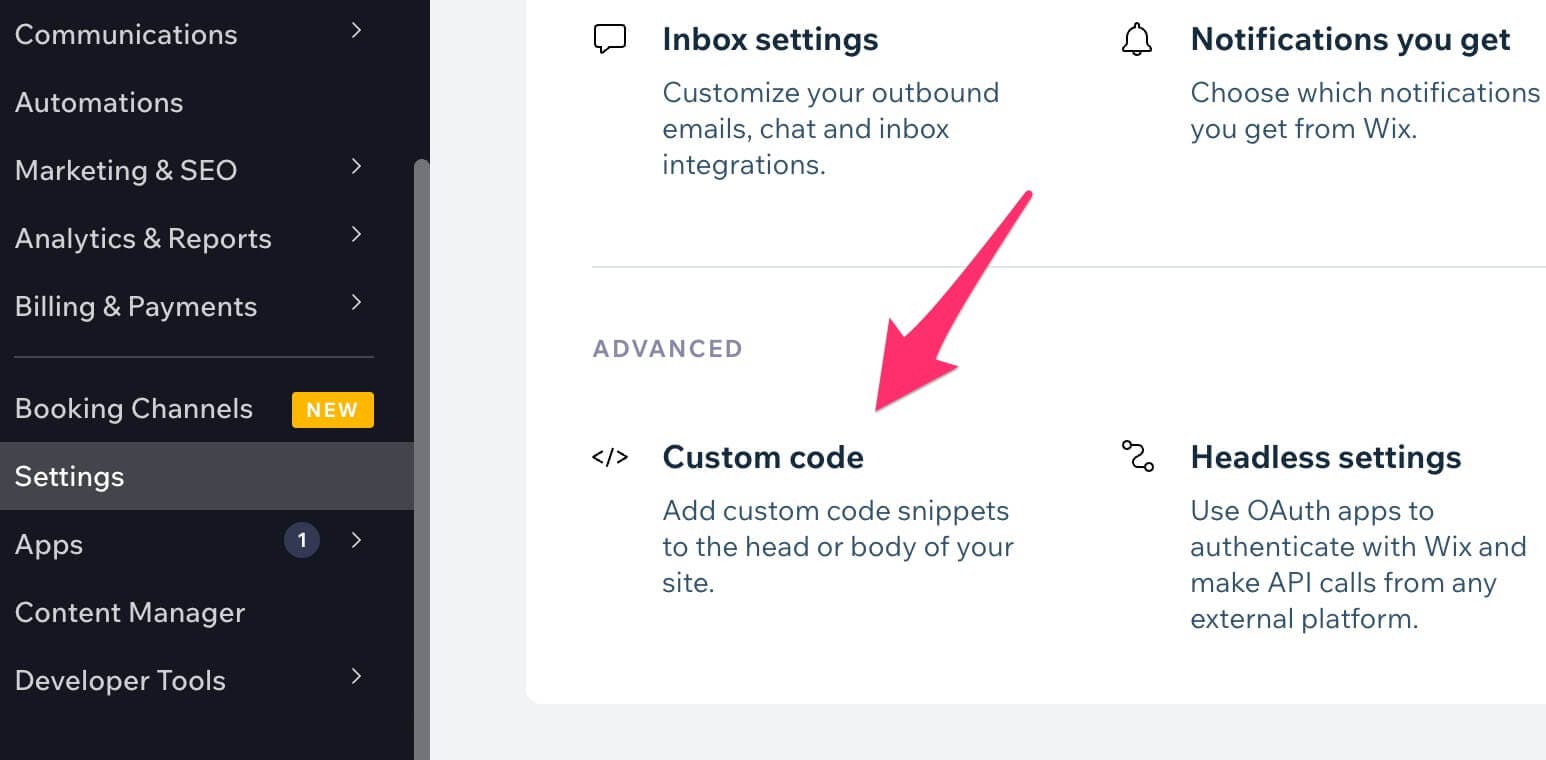
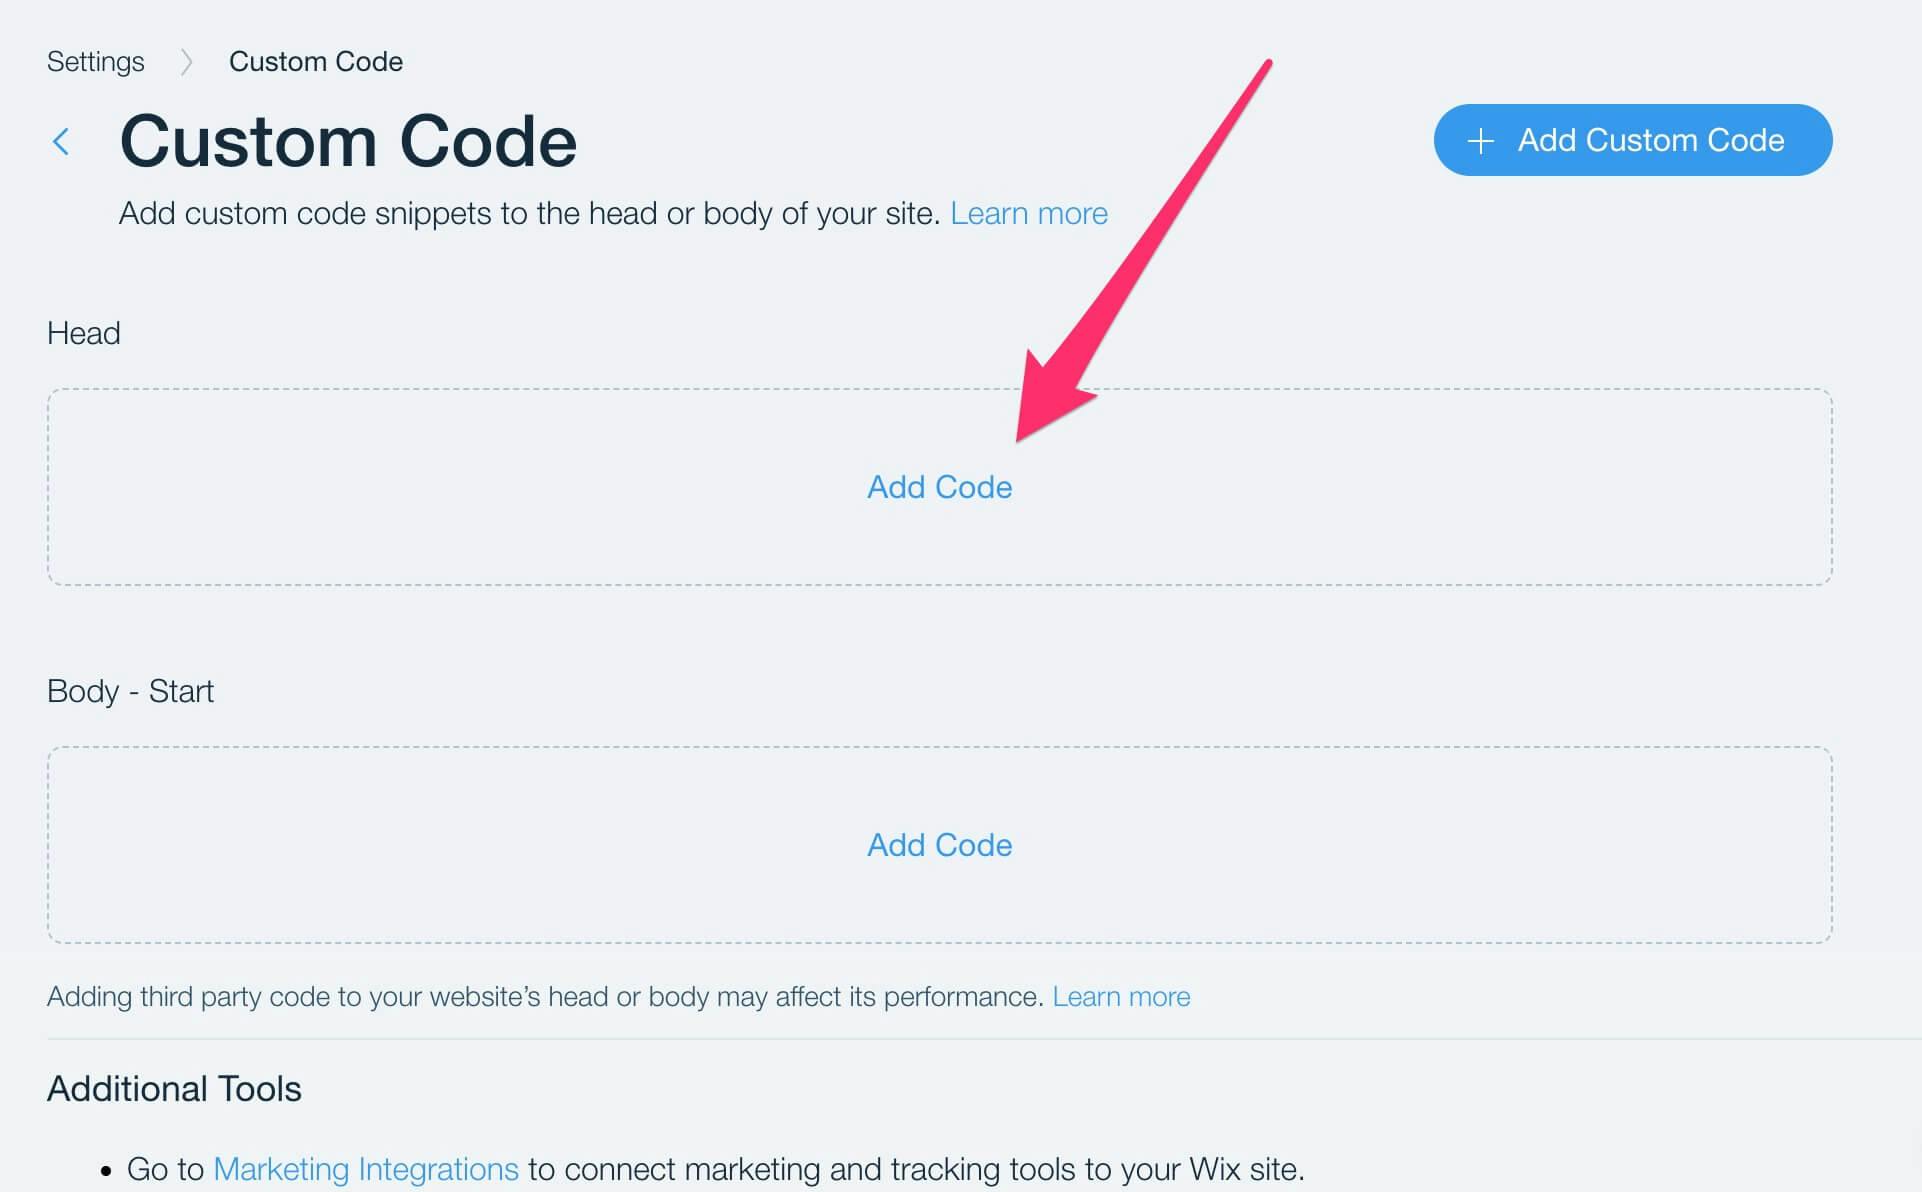
Under the Head section, click
Add Code
.
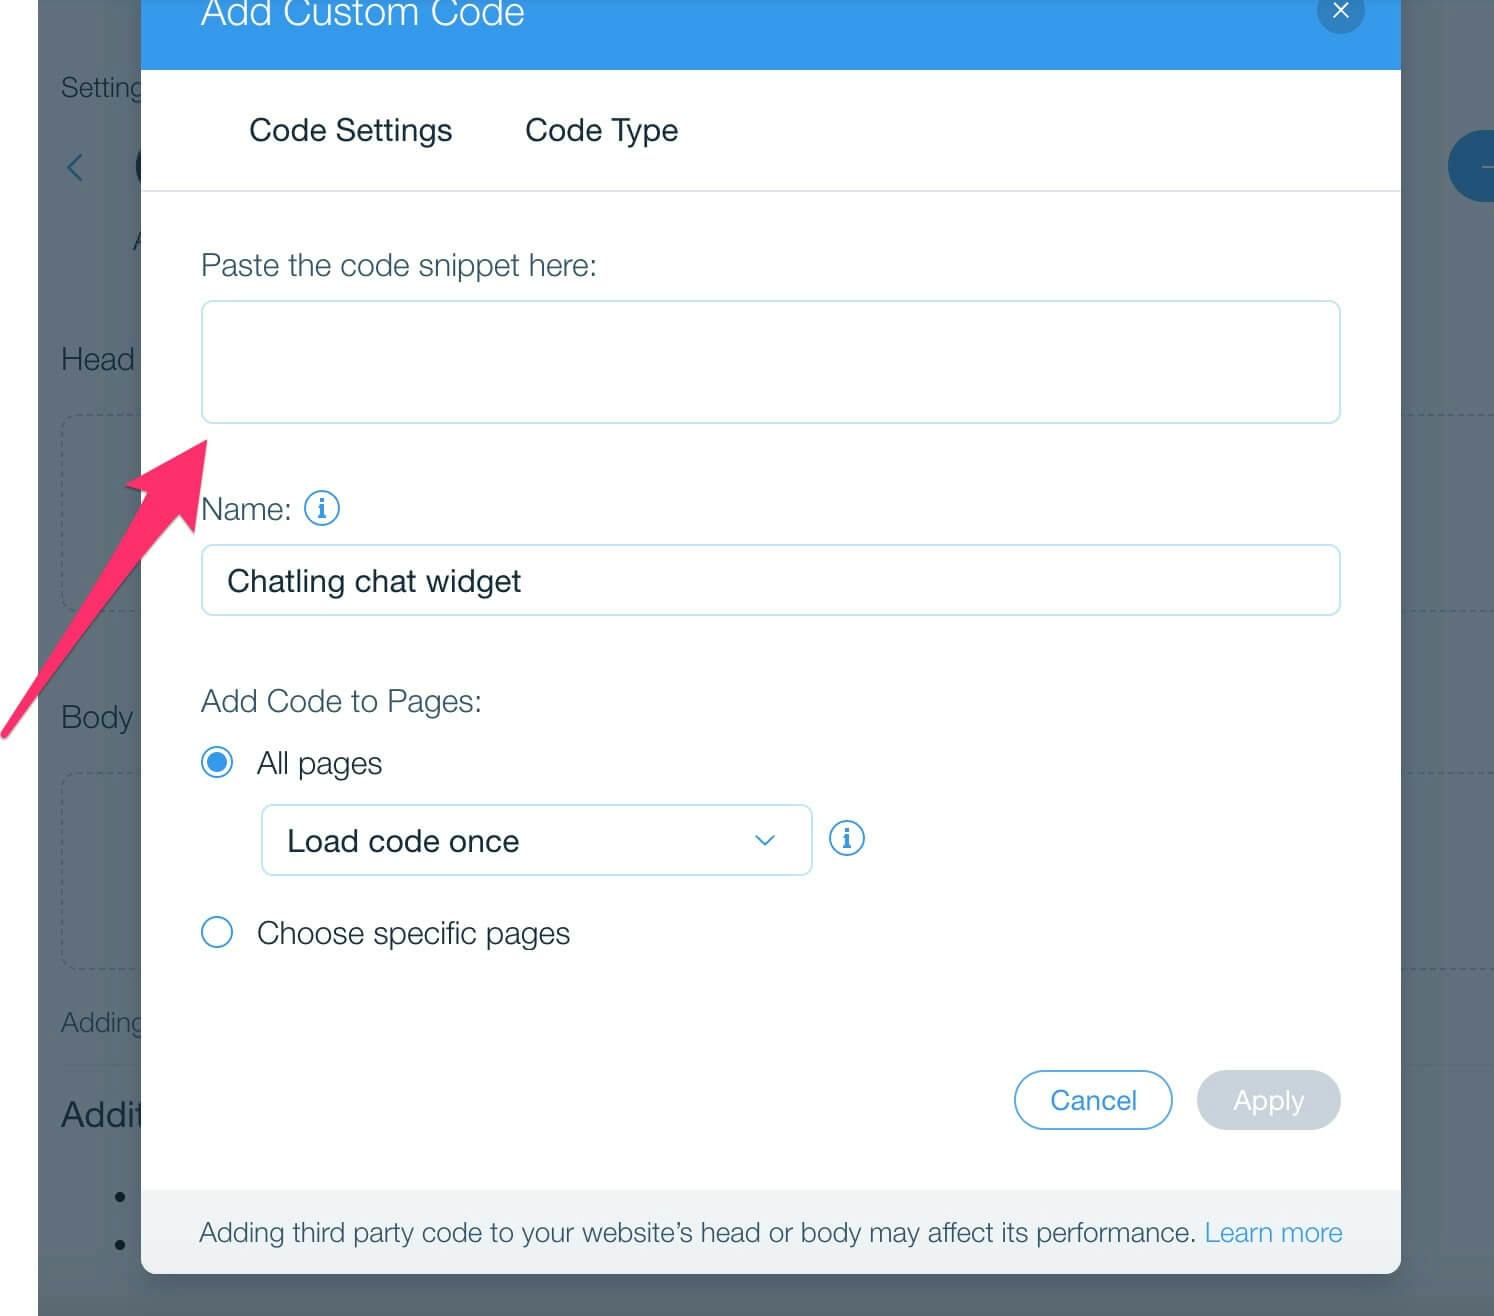
Paste the chatbot’s code snippet into the text box that appears and click
Apply
.
The chatbot is now live on your Wix website and visitors can interact with it.
Squarespace
Webflow
Assistant
Responses are generated using AI and may contain mistakes.