> ## Documentation Index
> Fetch the complete documentation index at: https://docs.chatling.ai/llms.txt
> Use this file to discover all available pages before exploring further.
# Getting started with AI Chatbots
> Learn how to create your first AI chatbot in Chatling
What we'll be covering:
1. [Create a chatbot](#1-create-a-chatbot)
2. [Building your chatbot](#2-building-your-chatbot)
3. [Populating the knowledge base](#3-populate-the-ai-knowledge-base)
4. [Customize and deploy your chatbot](#4-customize-and-deploy-your-chatbot)
## 1. Create a chatbot
After you sign up and verify your email, the first step is to create your chatbot.
1. From the dashboard, click on the `Create chatbot` button.
 2. You can choose to create a chatbot from scratch or use a template. Templates help you get started quickly with pre-built flows.
 3. Give your chatbot a name and click `Create chatbot`.
 Congrats! You've created your first chatbot. Now you can start building it based on your requirements.
## 2. Building your chatbot
For your chatbot to be functional, you need to build its conversational flow. This can be done using the Builder.
From your chatbot's dashboard, click on the `Builder` menu to open it.

The [Builder](/chatbot/builder/introduction) is where you can create and manage your chatbot's flow. It's a visual interface that allows you to add and connect blocks to create a conversational flow.
All chatbots contain a default `Start` block, which is the entry point of the conversation.

### Sidebar
On the left sidebar, you'll find the following menus:
* **[Blocks](/chatbot/builder/blocks/overview)**: Contains all the blocks you can add to your flow. Blocks build up the conversational flow of your chatbot.
You can drag and drop blocks from this menu to the canvas to add them to your flow.

* **Variables**: These are like containers that store information during the conversation. You can use variables to personalize the conversation and make it more dynamic.
Congrats! You've created your first chatbot. Now you can start building it based on your requirements.
## 2. Building your chatbot
For your chatbot to be functional, you need to build its conversational flow. This can be done using the Builder.
From your chatbot's dashboard, click on the `Builder` menu to open it.

The [Builder](/chatbot/builder/introduction) is where you can create and manage your chatbot's flow. It's a visual interface that allows you to add and connect blocks to create a conversational flow.
All chatbots contain a default `Start` block, which is the entry point of the conversation.

### Sidebar
On the left sidebar, you'll find the following menus:
* **[Blocks](/chatbot/builder/blocks/overview)**: Contains all the blocks you can add to your flow. Blocks build up the conversational flow of your chatbot.
You can drag and drop blocks from this menu to the canvas to add them to your flow.

* **Variables**: These are like containers that store information during the conversation. You can use variables to personalize the conversation and make it more dynamic.
 * **AI Configuration**: Configure the default AI settings for your chatbot. These settings are used when the chatbot generates AI responses using the Knowledge Base.
* **Settings**: Configure the general settings for your chatbot.
### Connecting blocks
Once you add blocks to the [canvas](/chatbot/builder/canvas), you must connect them to create a flow that guides users through the conversation. Failure to do so will result in the chat ending prematurely.

### Configuring blocks
Each block has its own configuration settings that you can customize. To configure a block, click it and its settings will appear on the right side of the screen.

### Testing your chatbot
While you're building the chatbot, you can test it to see how it works. This allows you to identify any issues and make improvements before publishing it.
Click the `Preview bot` button in the top right corner of the screen to launch the chatbot for testing.

Your work is saved automatically as you build your chatbot. You can also save it manually by clicking the `Save` button in the top right side of the screen.
### Saving your work
Your work is saved automatically as you build your chatbot. You can also save it manually by clicking the `Save` button in the top right side of the screen.
Any changes you make to the chatbot are saved as drafts until you publish them. This allows you to work on the chatbot and test it without affecting the live version.
### Publish your chatbot
Once you've built and tested your chatbot, you can publish it to make it live. Click the `Publish` button in the top right corner of the screen to publish your chatbot.
* **AI Configuration**: Configure the default AI settings for your chatbot. These settings are used when the chatbot generates AI responses using the Knowledge Base.
* **Settings**: Configure the general settings for your chatbot.
### Connecting blocks
Once you add blocks to the [canvas](/chatbot/builder/canvas), you must connect them to create a flow that guides users through the conversation. Failure to do so will result in the chat ending prematurely.

### Configuring blocks
Each block has its own configuration settings that you can customize. To configure a block, click it and its settings will appear on the right side of the screen.

### Testing your chatbot
While you're building the chatbot, you can test it to see how it works. This allows you to identify any issues and make improvements before publishing it.
Click the `Preview bot` button in the top right corner of the screen to launch the chatbot for testing.

Your work is saved automatically as you build your chatbot. You can also save it manually by clicking the `Save` button in the top right side of the screen.
### Saving your work
Your work is saved automatically as you build your chatbot. You can also save it manually by clicking the `Save` button in the top right side of the screen.
Any changes you make to the chatbot are saved as drafts until you publish them. This allows you to work on the chatbot and test it without affecting the live version.
### Publish your chatbot
Once you've built and tested your chatbot, you can publish it to make it live. Click the `Publish` button in the top right corner of the screen to publish your chatbot.
 ## 3. Populate the AI knowledge base
The Knowledge Base is where you upload information that the AI uses to generate responses to user queries. It uses this information to provide accurate and relevant responses to users.
## 3. Populate the AI knowledge base
The Knowledge Base is where you upload information that the AI uses to generate responses to user queries. It uses this information to provide accurate and relevant responses to users.
 You can add websites, documents, texts, FAQs, and many more data sources to the knowledge base. When a user asks a question, the AI searches the knowledge base for relevant information and generates a response based on the data it finds.
Therefore, if your chatbot contains an AI Response block and it's "Response Source" is set to "Knowledge Base", you need to populate the Knowledge Base with information that the AI can use to generate responses.
## 4. Customize and deploy your chatbot
Once you've built your chatbot, it's time to customize the widget and deploy it to your website. Here's how you can do it:
1. First, make sure that you've published your chatbot. You can publish it from the Builder page.
2. Go back to the dashboard and click the `Deploy` button in the sidebar menu.
You can add websites, documents, texts, FAQs, and many more data sources to the knowledge base. When a user asks a question, the AI searches the knowledge base for relevant information and generates a response based on the data it finds.
Therefore, if your chatbot contains an AI Response block and it's "Response Source" is set to "Knowledge Base", you need to populate the Knowledge Base with information that the AI can use to generate responses.
## 4. Customize and deploy your chatbot
Once you've built your chatbot, it's time to customize the widget and deploy it to your website. Here's how you can do it:
1. First, make sure that you've published your chatbot. You can publish it from the Builder page.
2. Go back to the dashboard and click the `Deploy` button in the sidebar menu.
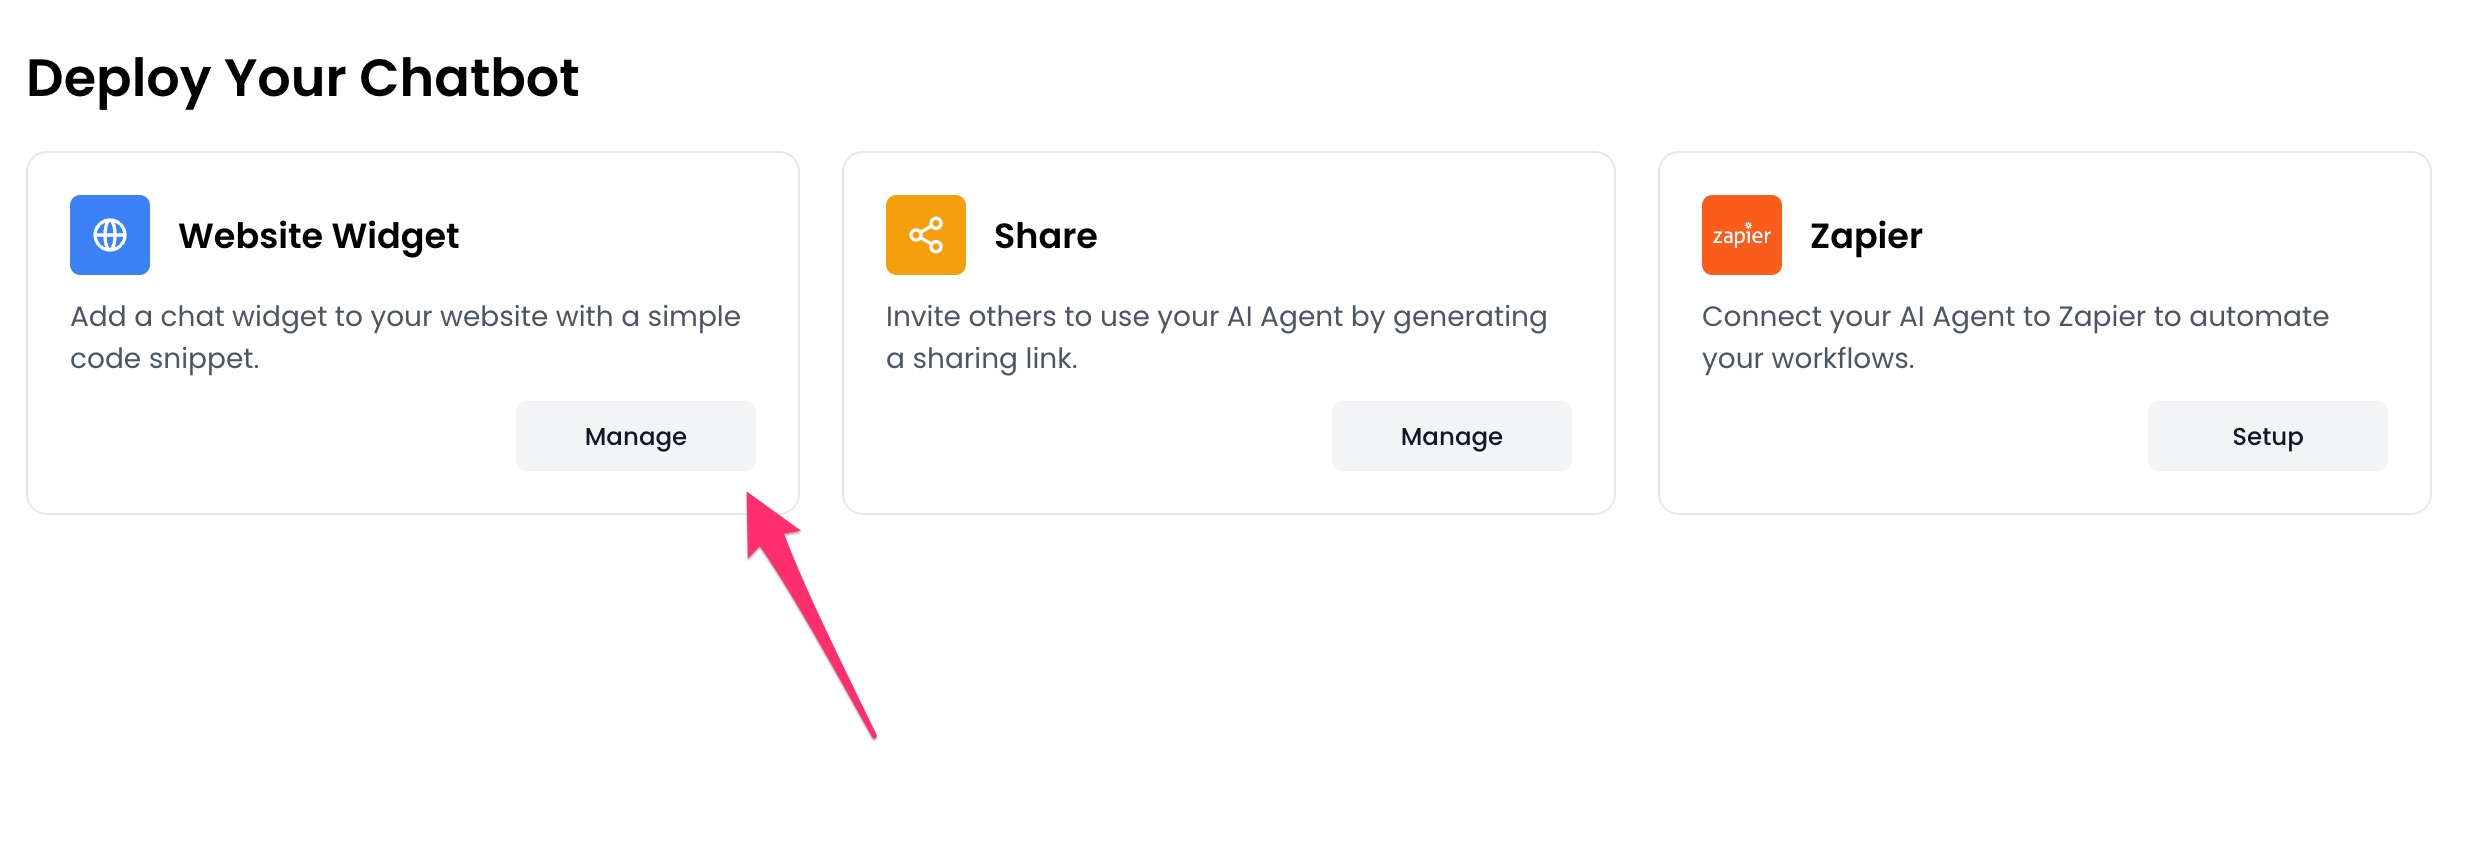
 3. Click the `Manage` button under the `Website Widget` option.
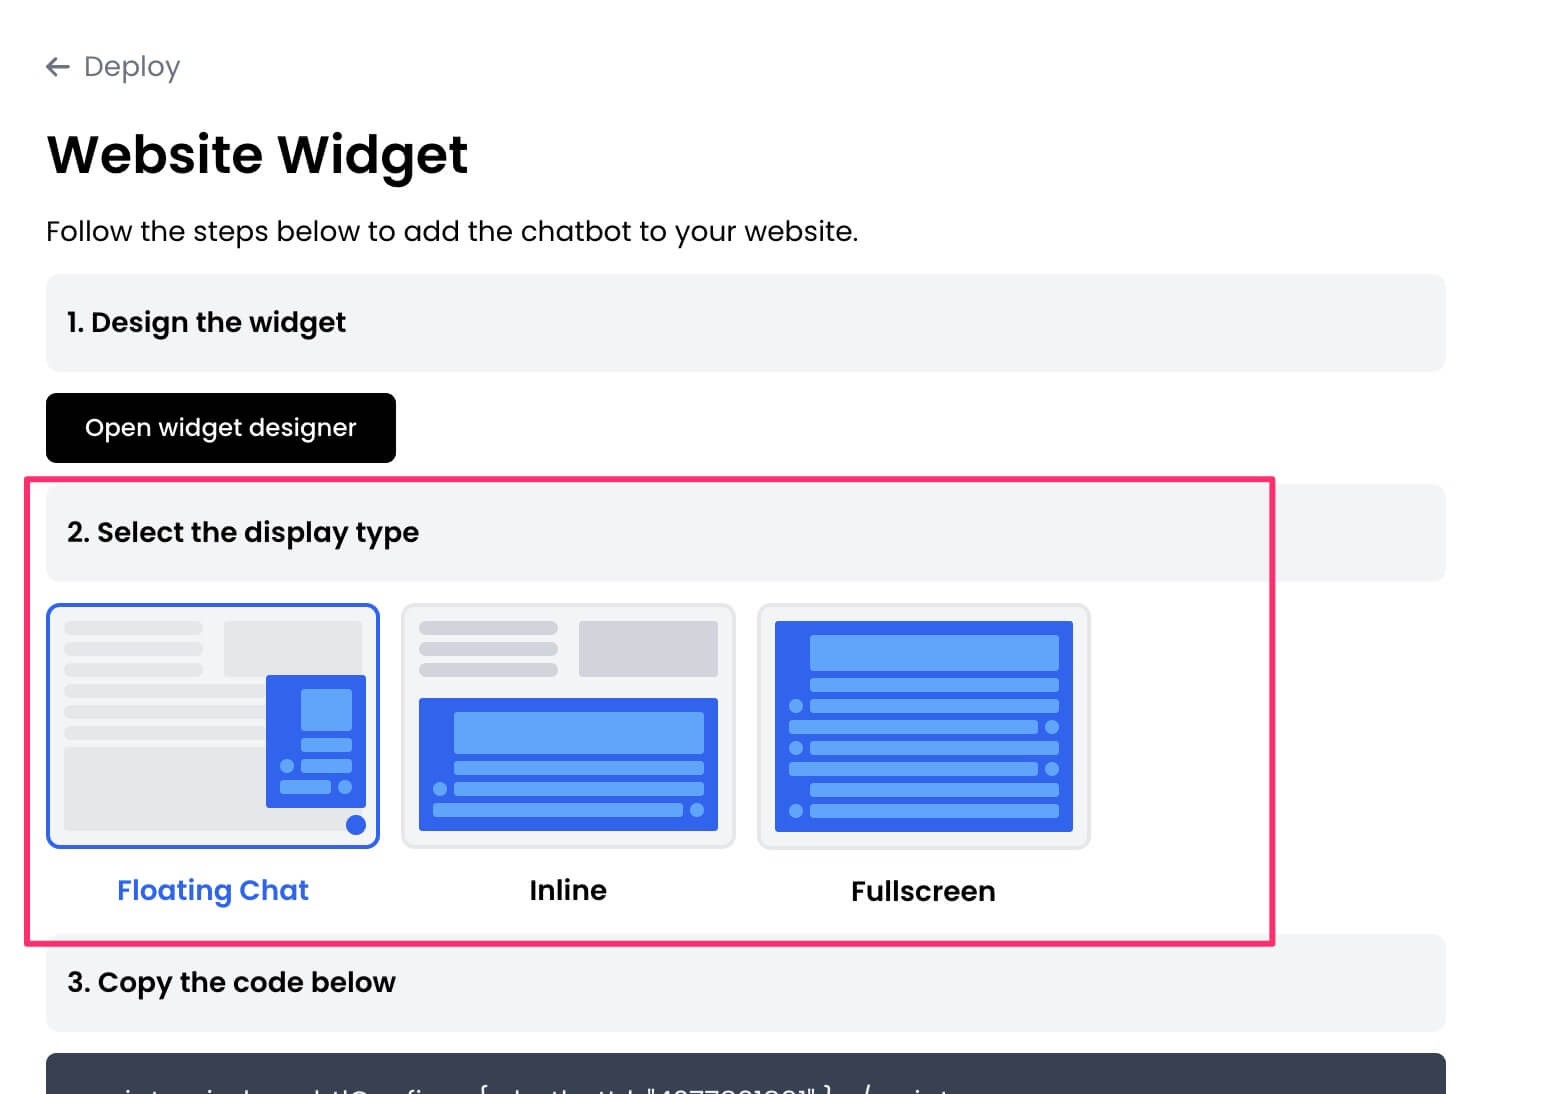
 4. Design the appearance of the widget by clicking the `Open widget designer` button.
 5. Select the display mode for your chatbot, such as "Floating Chat", "Inline", or "Fullscreen".
 6. Copy the chatbot widget code.
7. Paste the code into the `head` or `body` section of your website's HTML.
* If you selected the `Inline` mode, you must paste the code where you want the chatbot to appear on your website.
That's it! Your chatbot is now live on your website, ready to engage with your visitors.
6. Copy the chatbot widget code.
7. Paste the code into the `head` or `body` section of your website's HTML.
* If you selected the `Inline` mode, you must paste the code where you want the chatbot to appear on your website.
That's it! Your chatbot is now live on your website, ready to engage with your visitors.